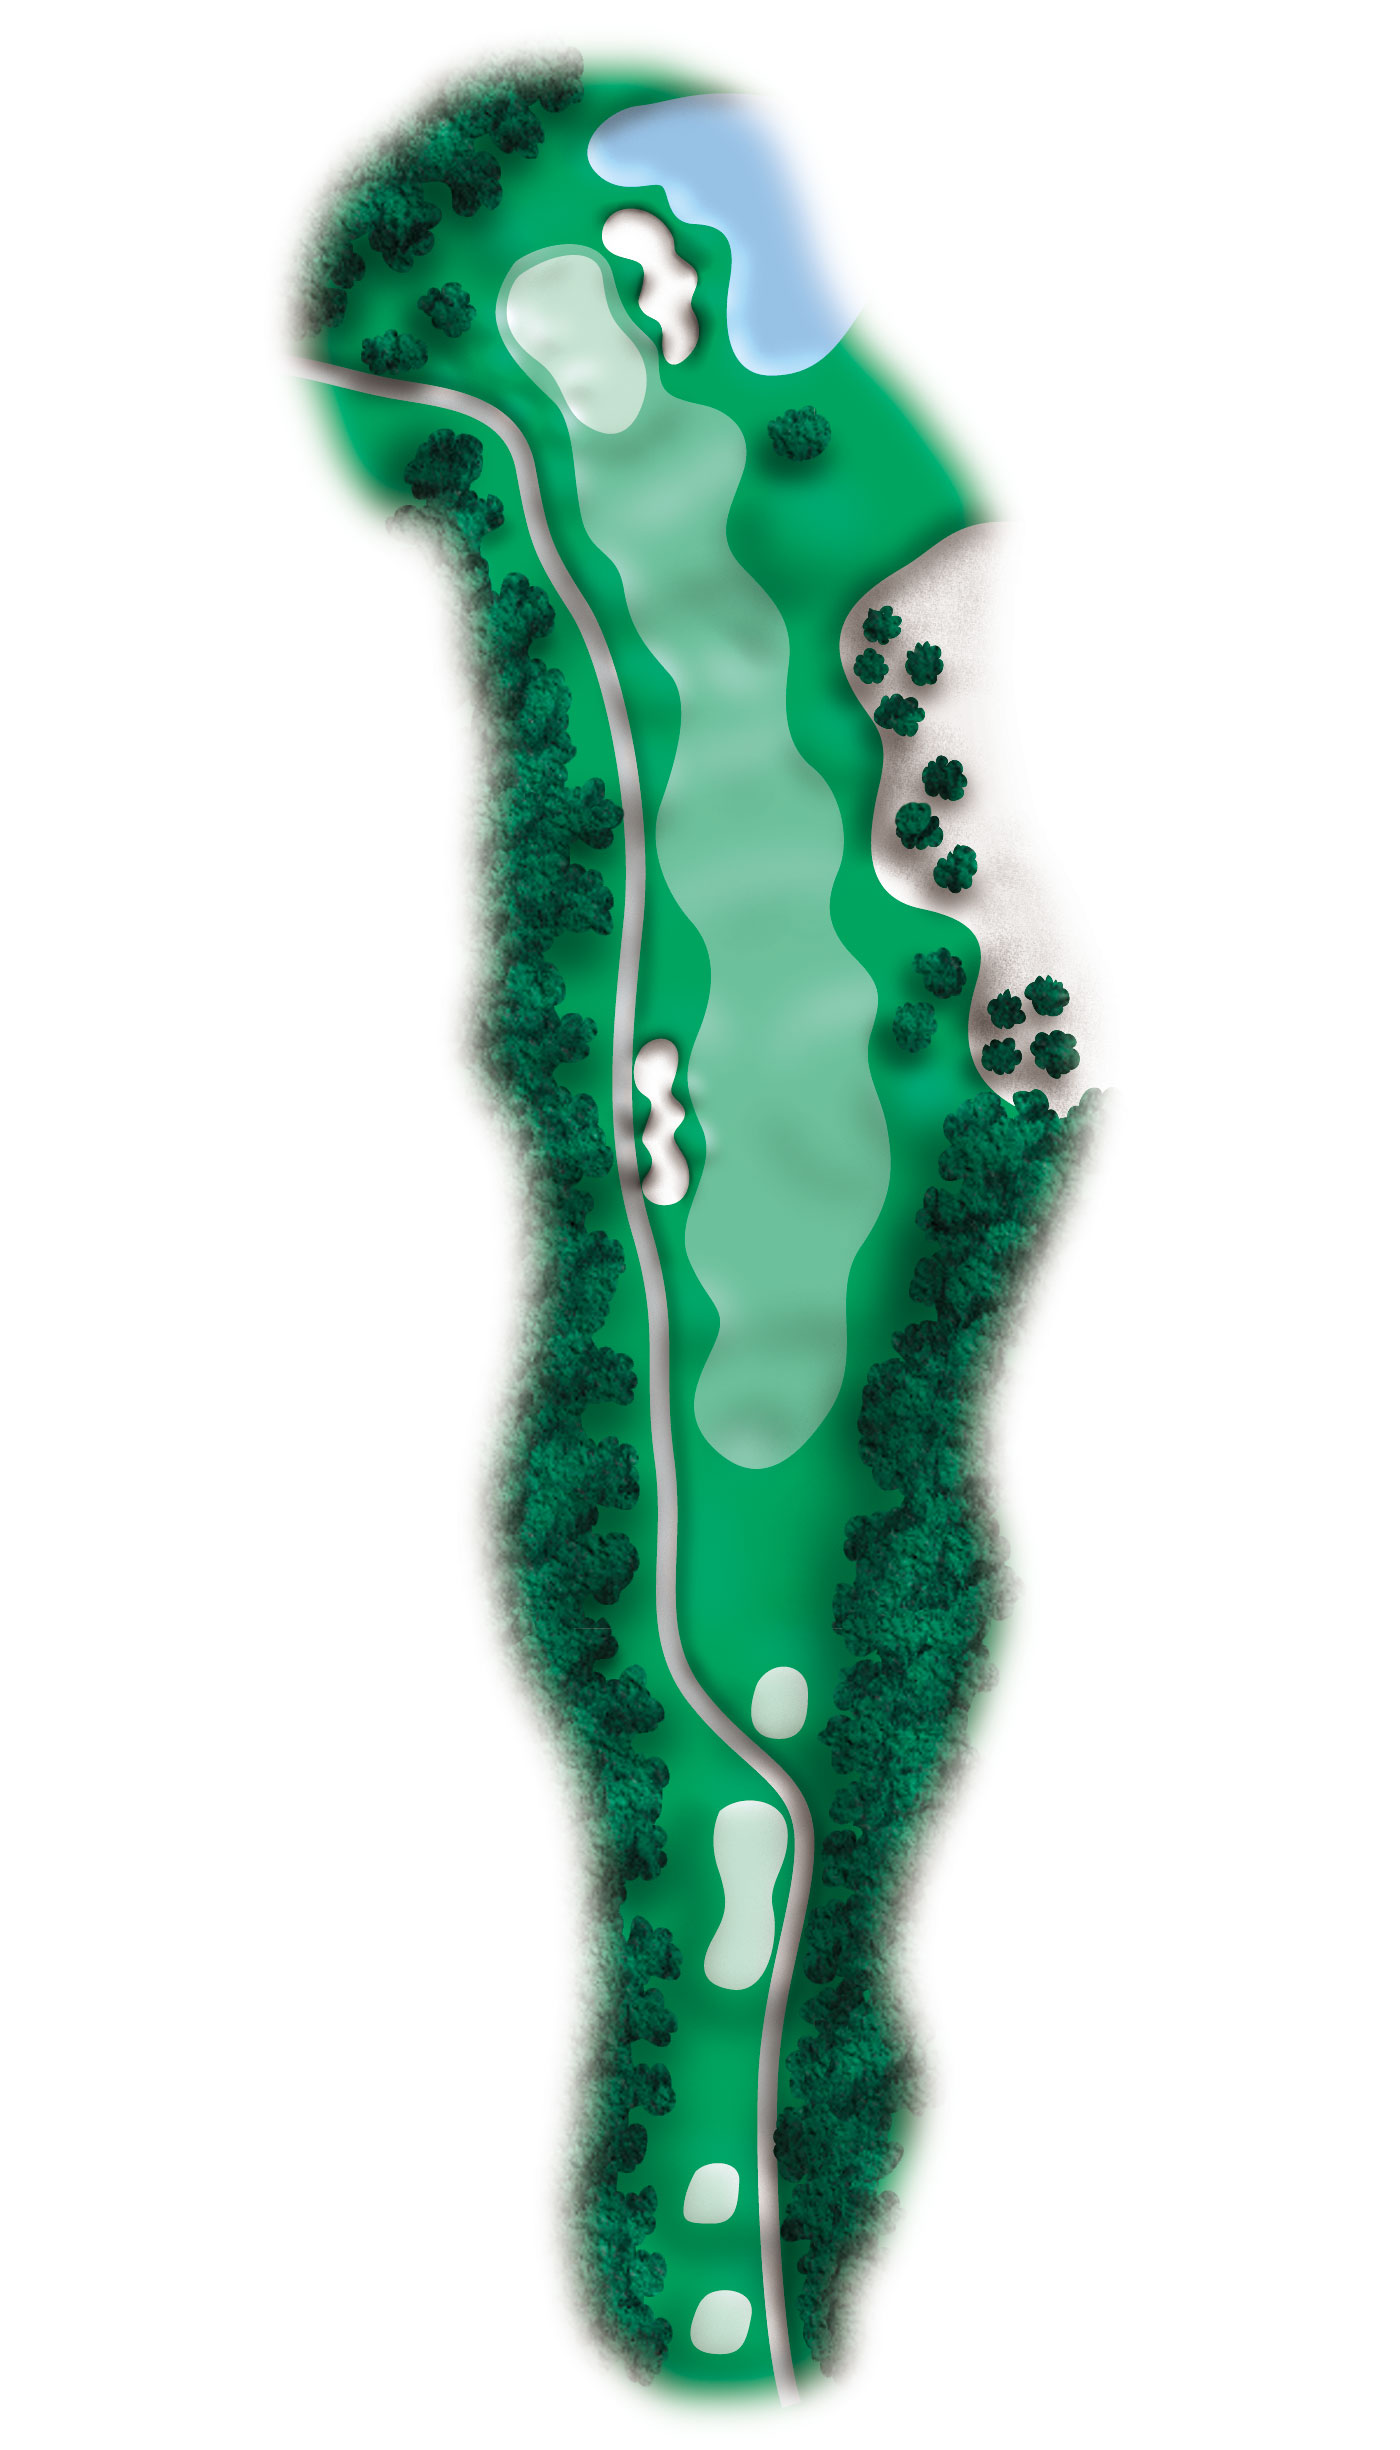
CYPRESS COURSE
HOLE 1
HOW TO PLAY HOLE 1
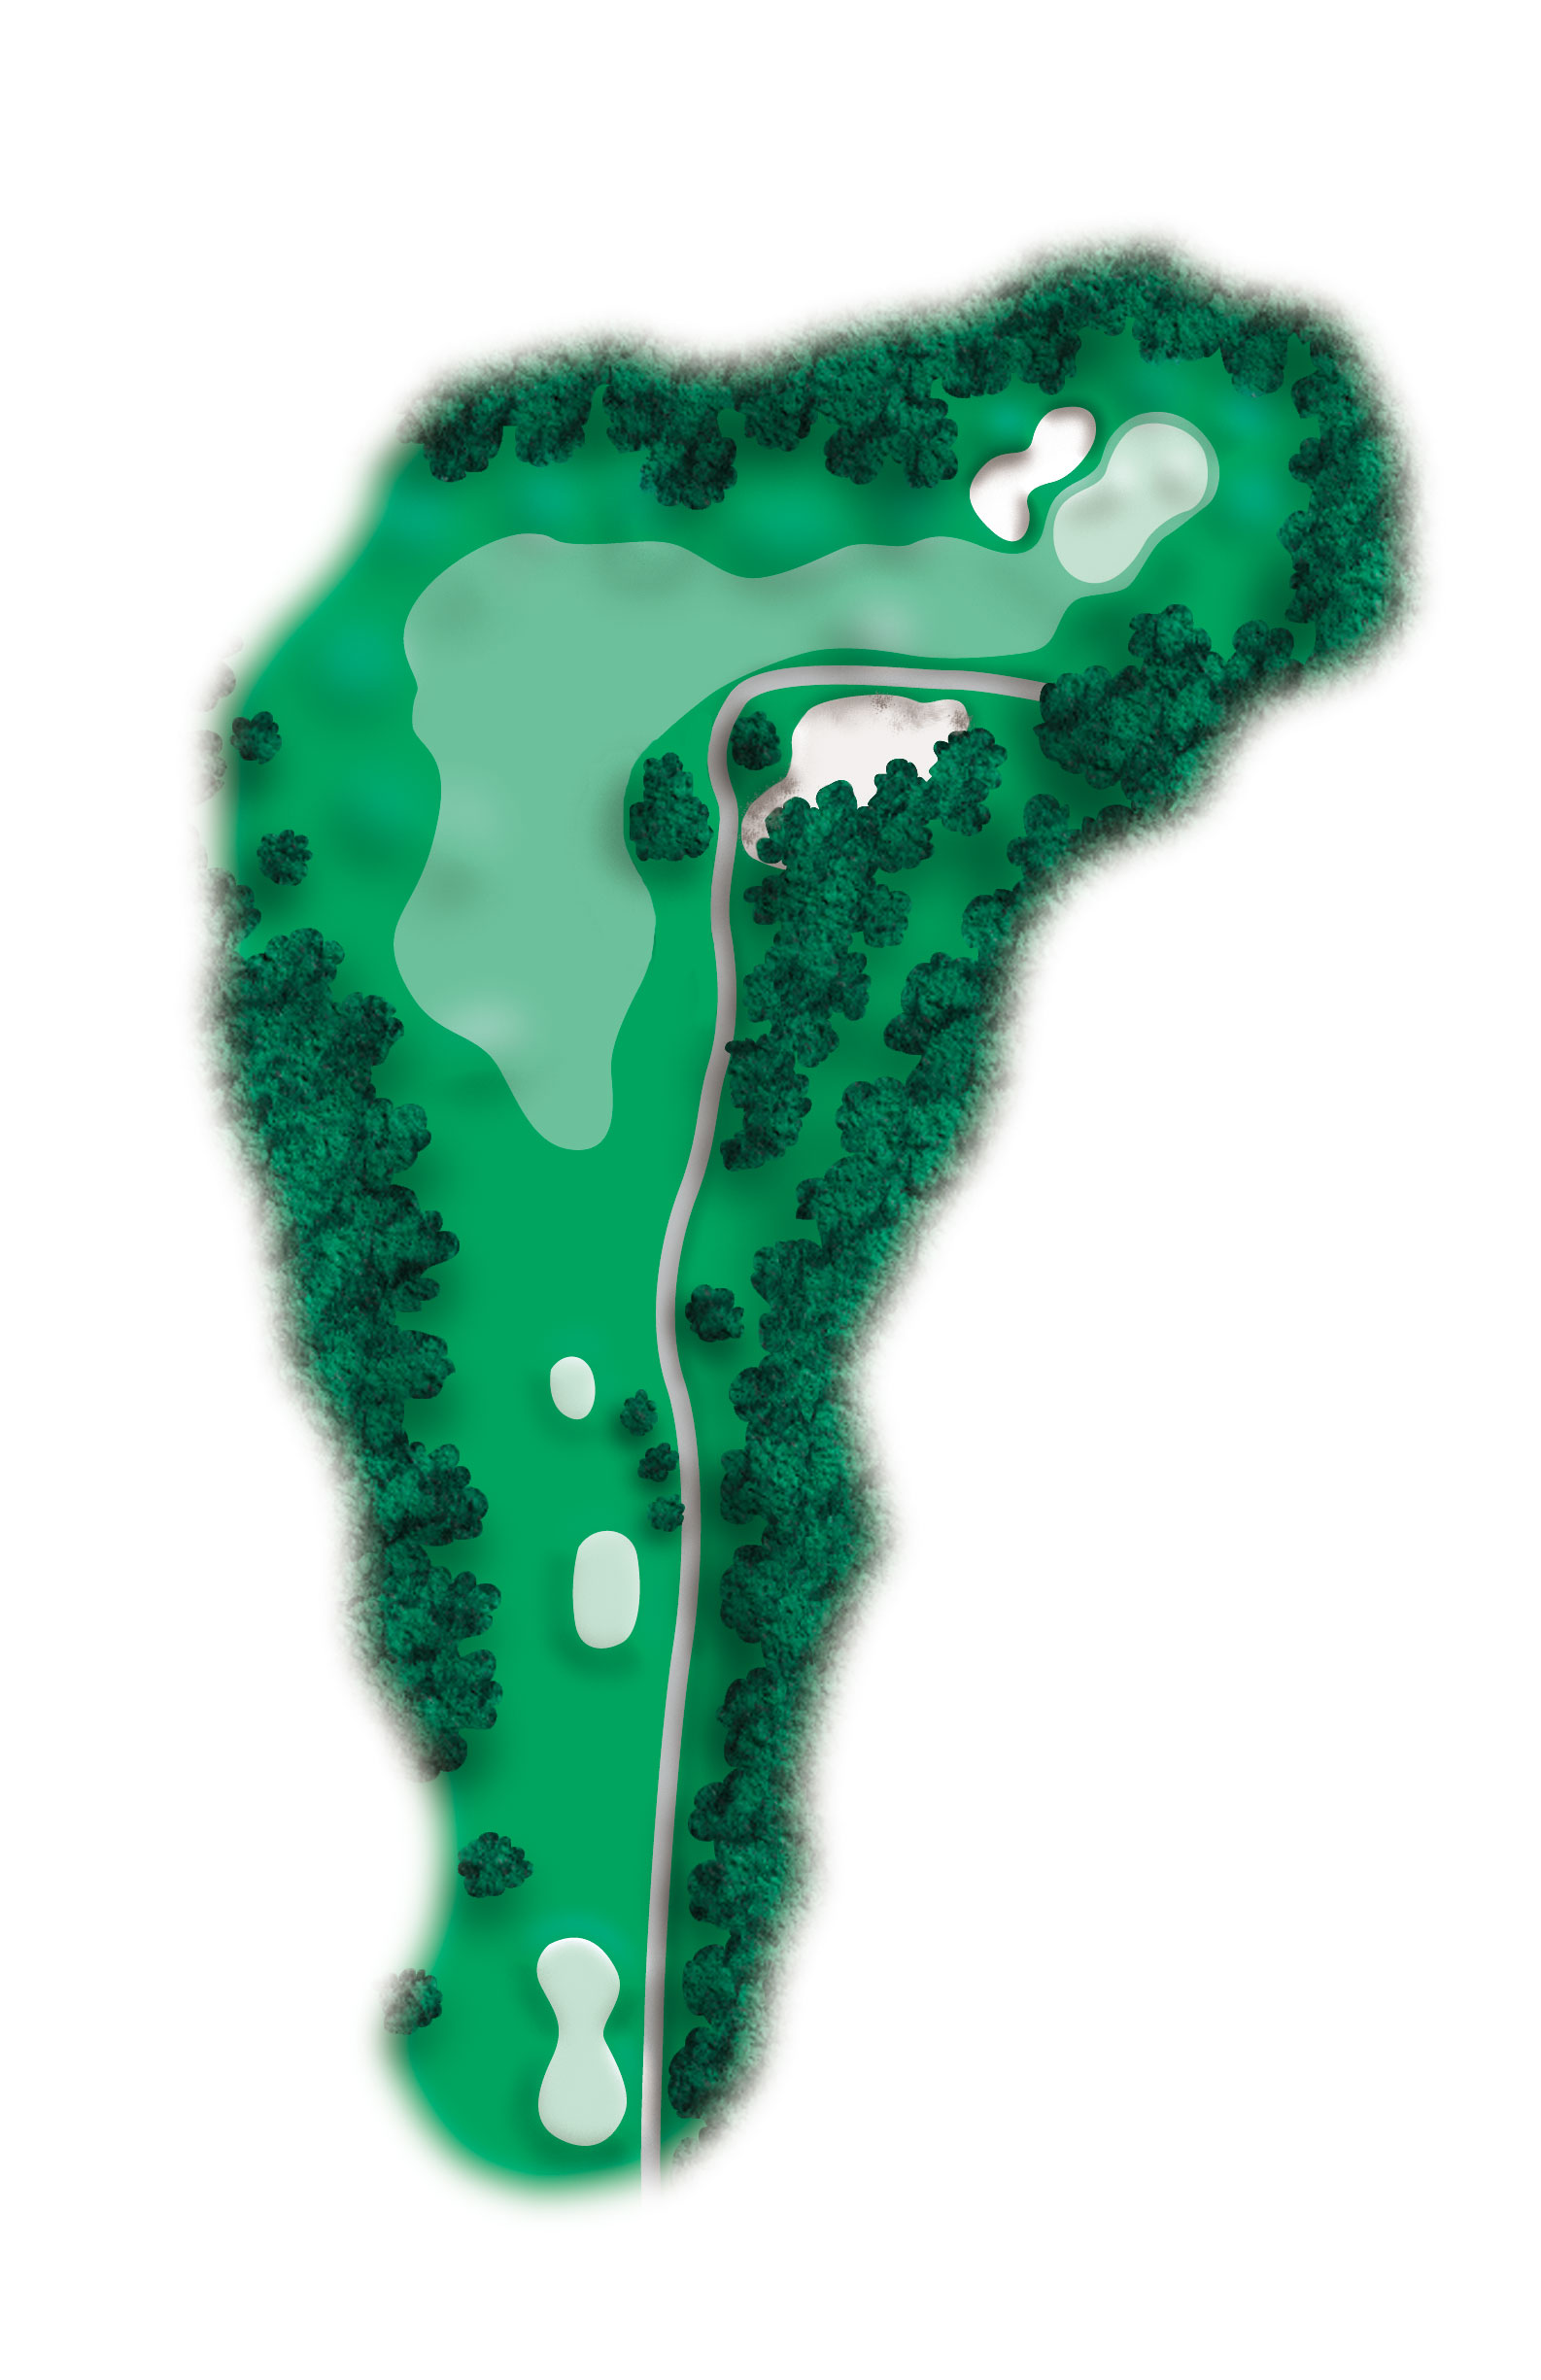
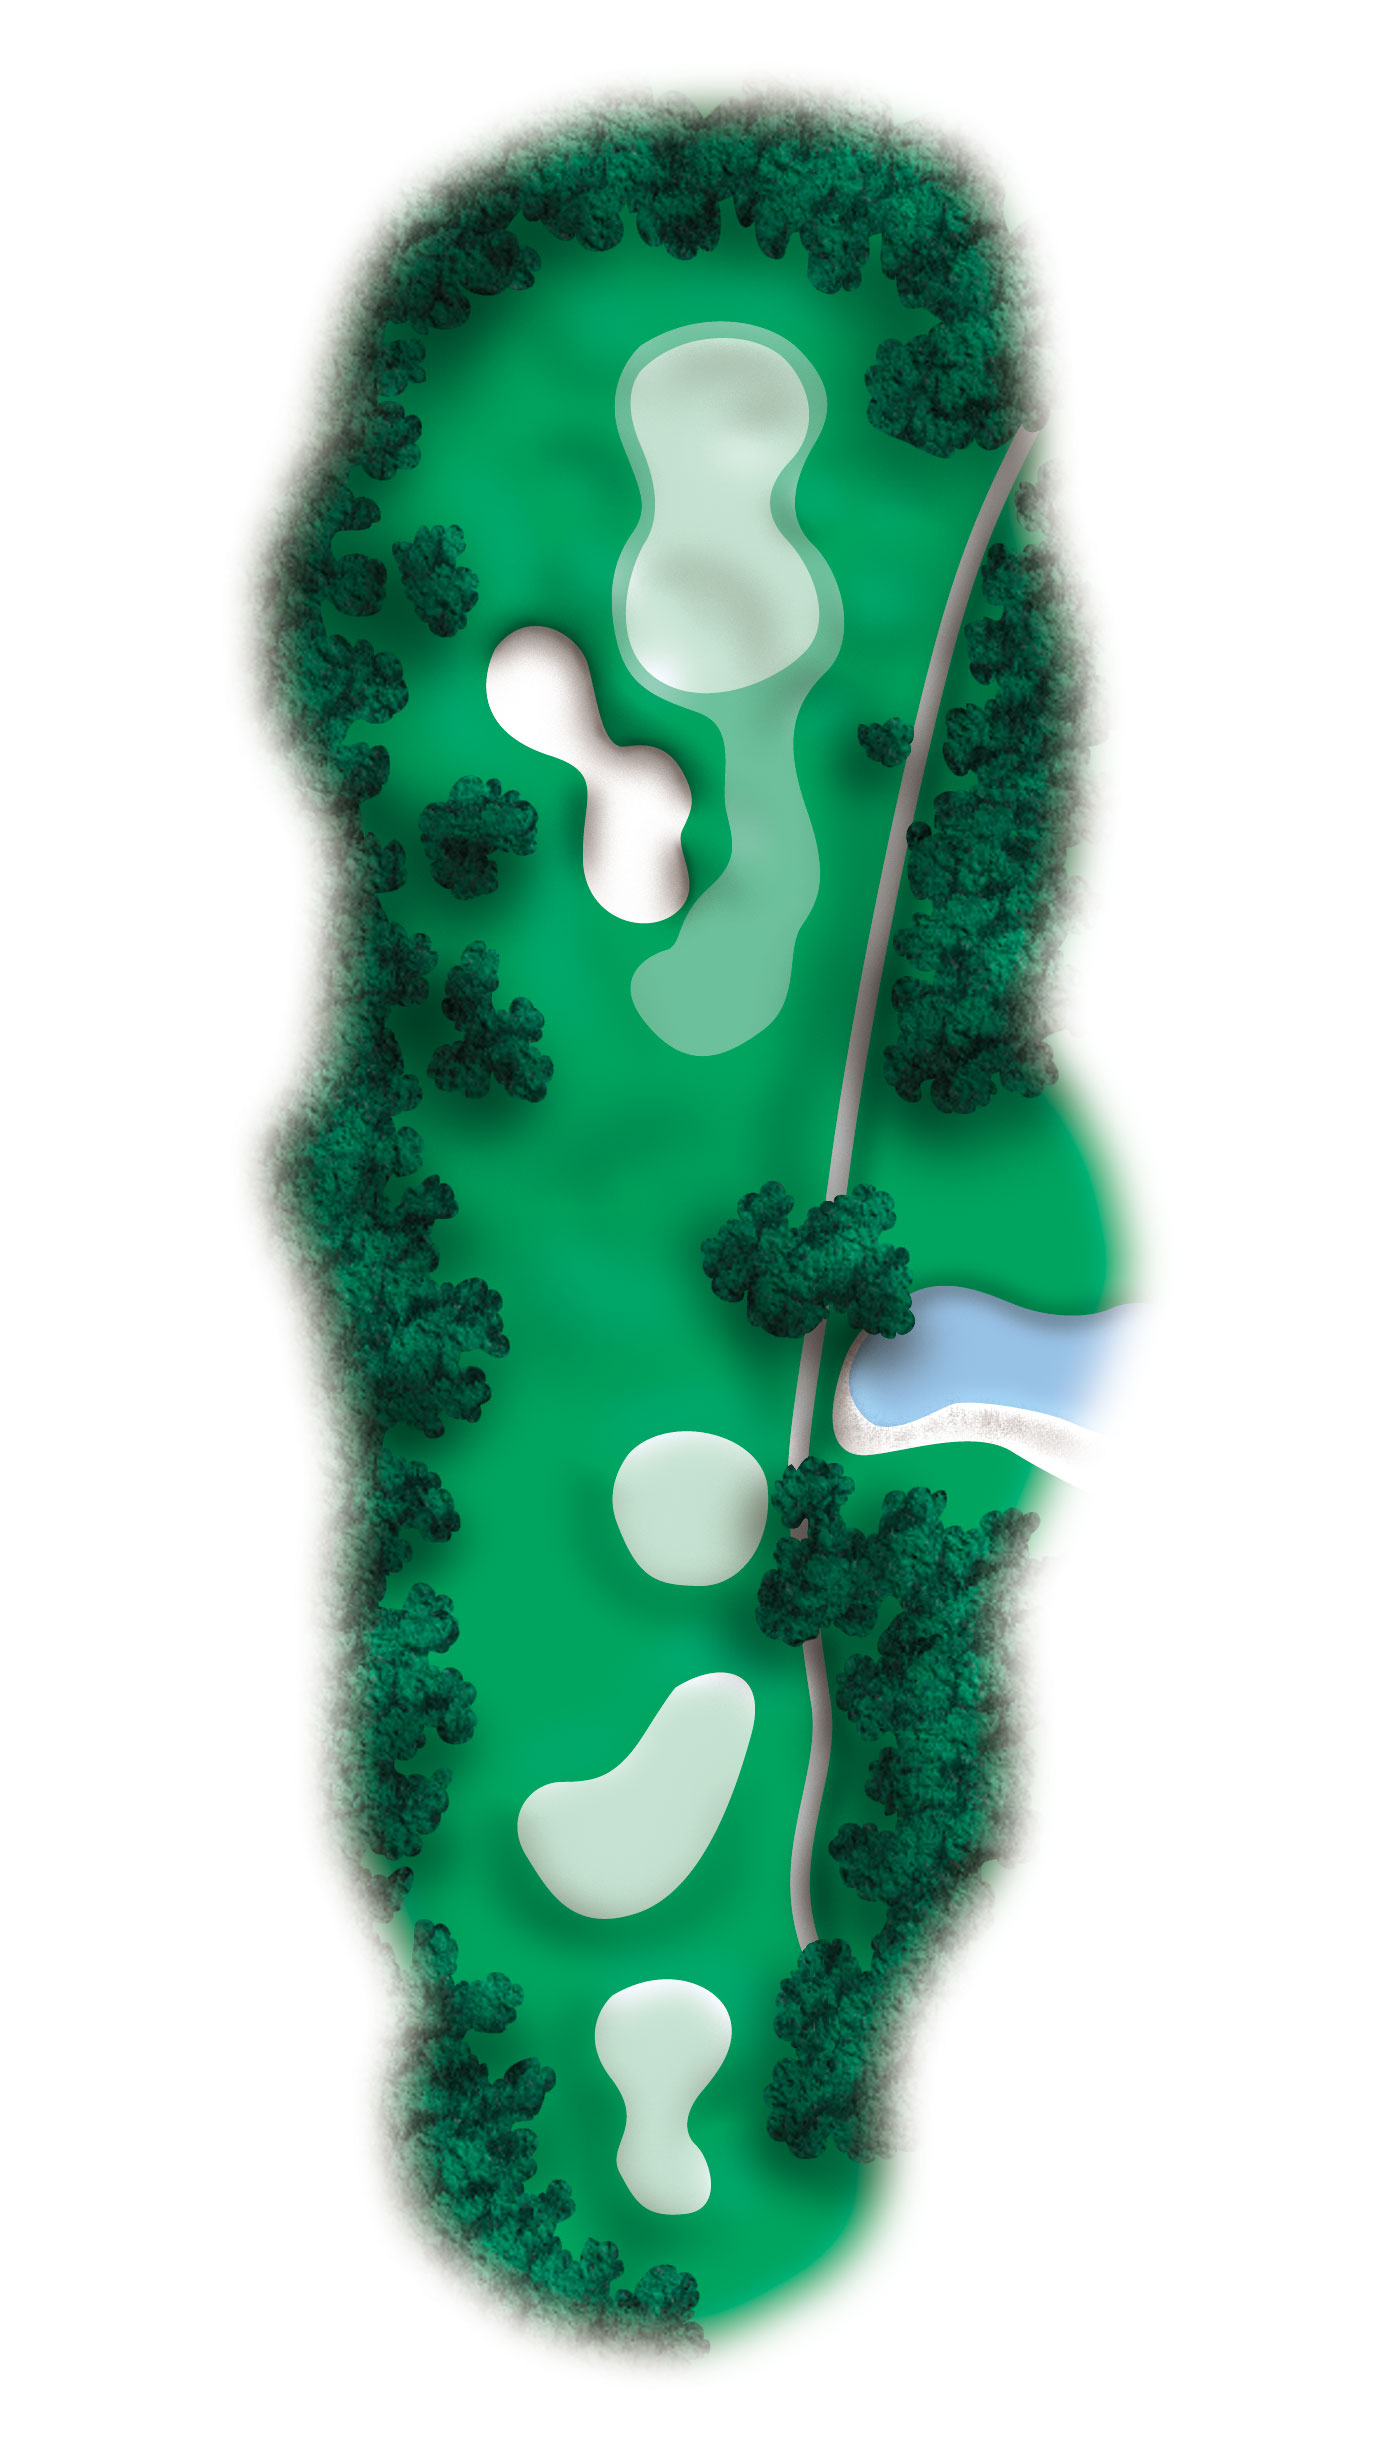
A sharp dog leg to the right your tee shot must avoid the trees at the corner of the dog leg. Long hitters may hit past the trees, short hitters should hit to the 150 yard marker.
HOLE 2
HOW TO PLAY HOLE 2
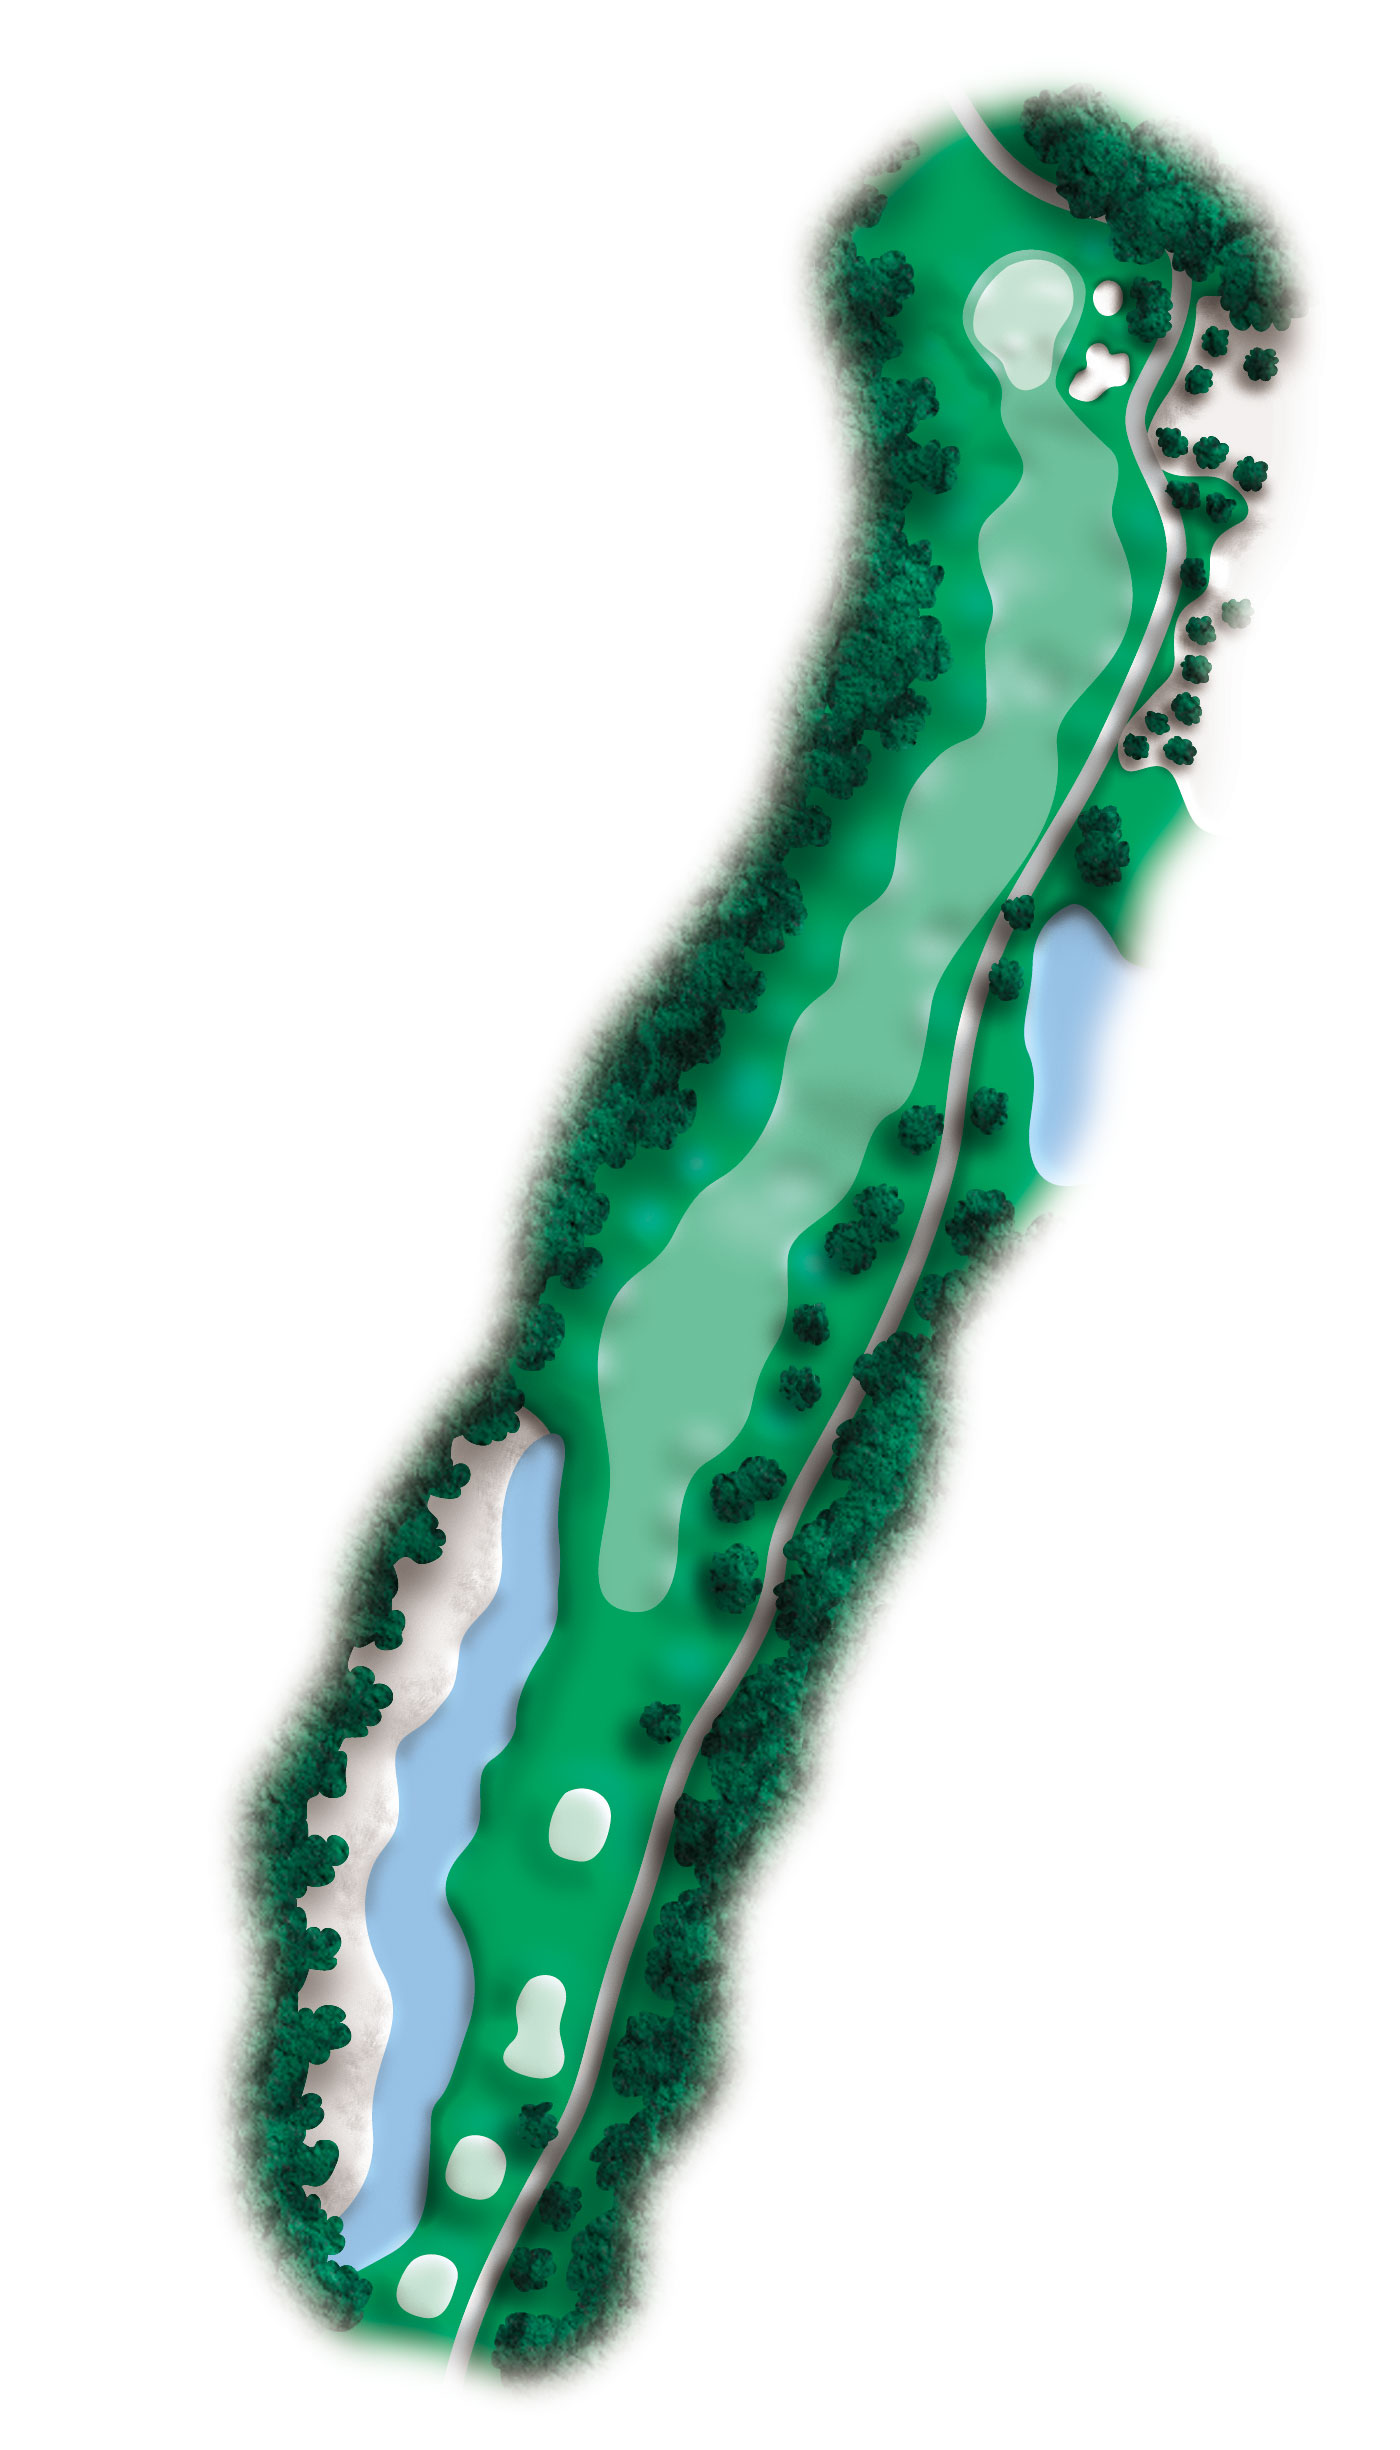
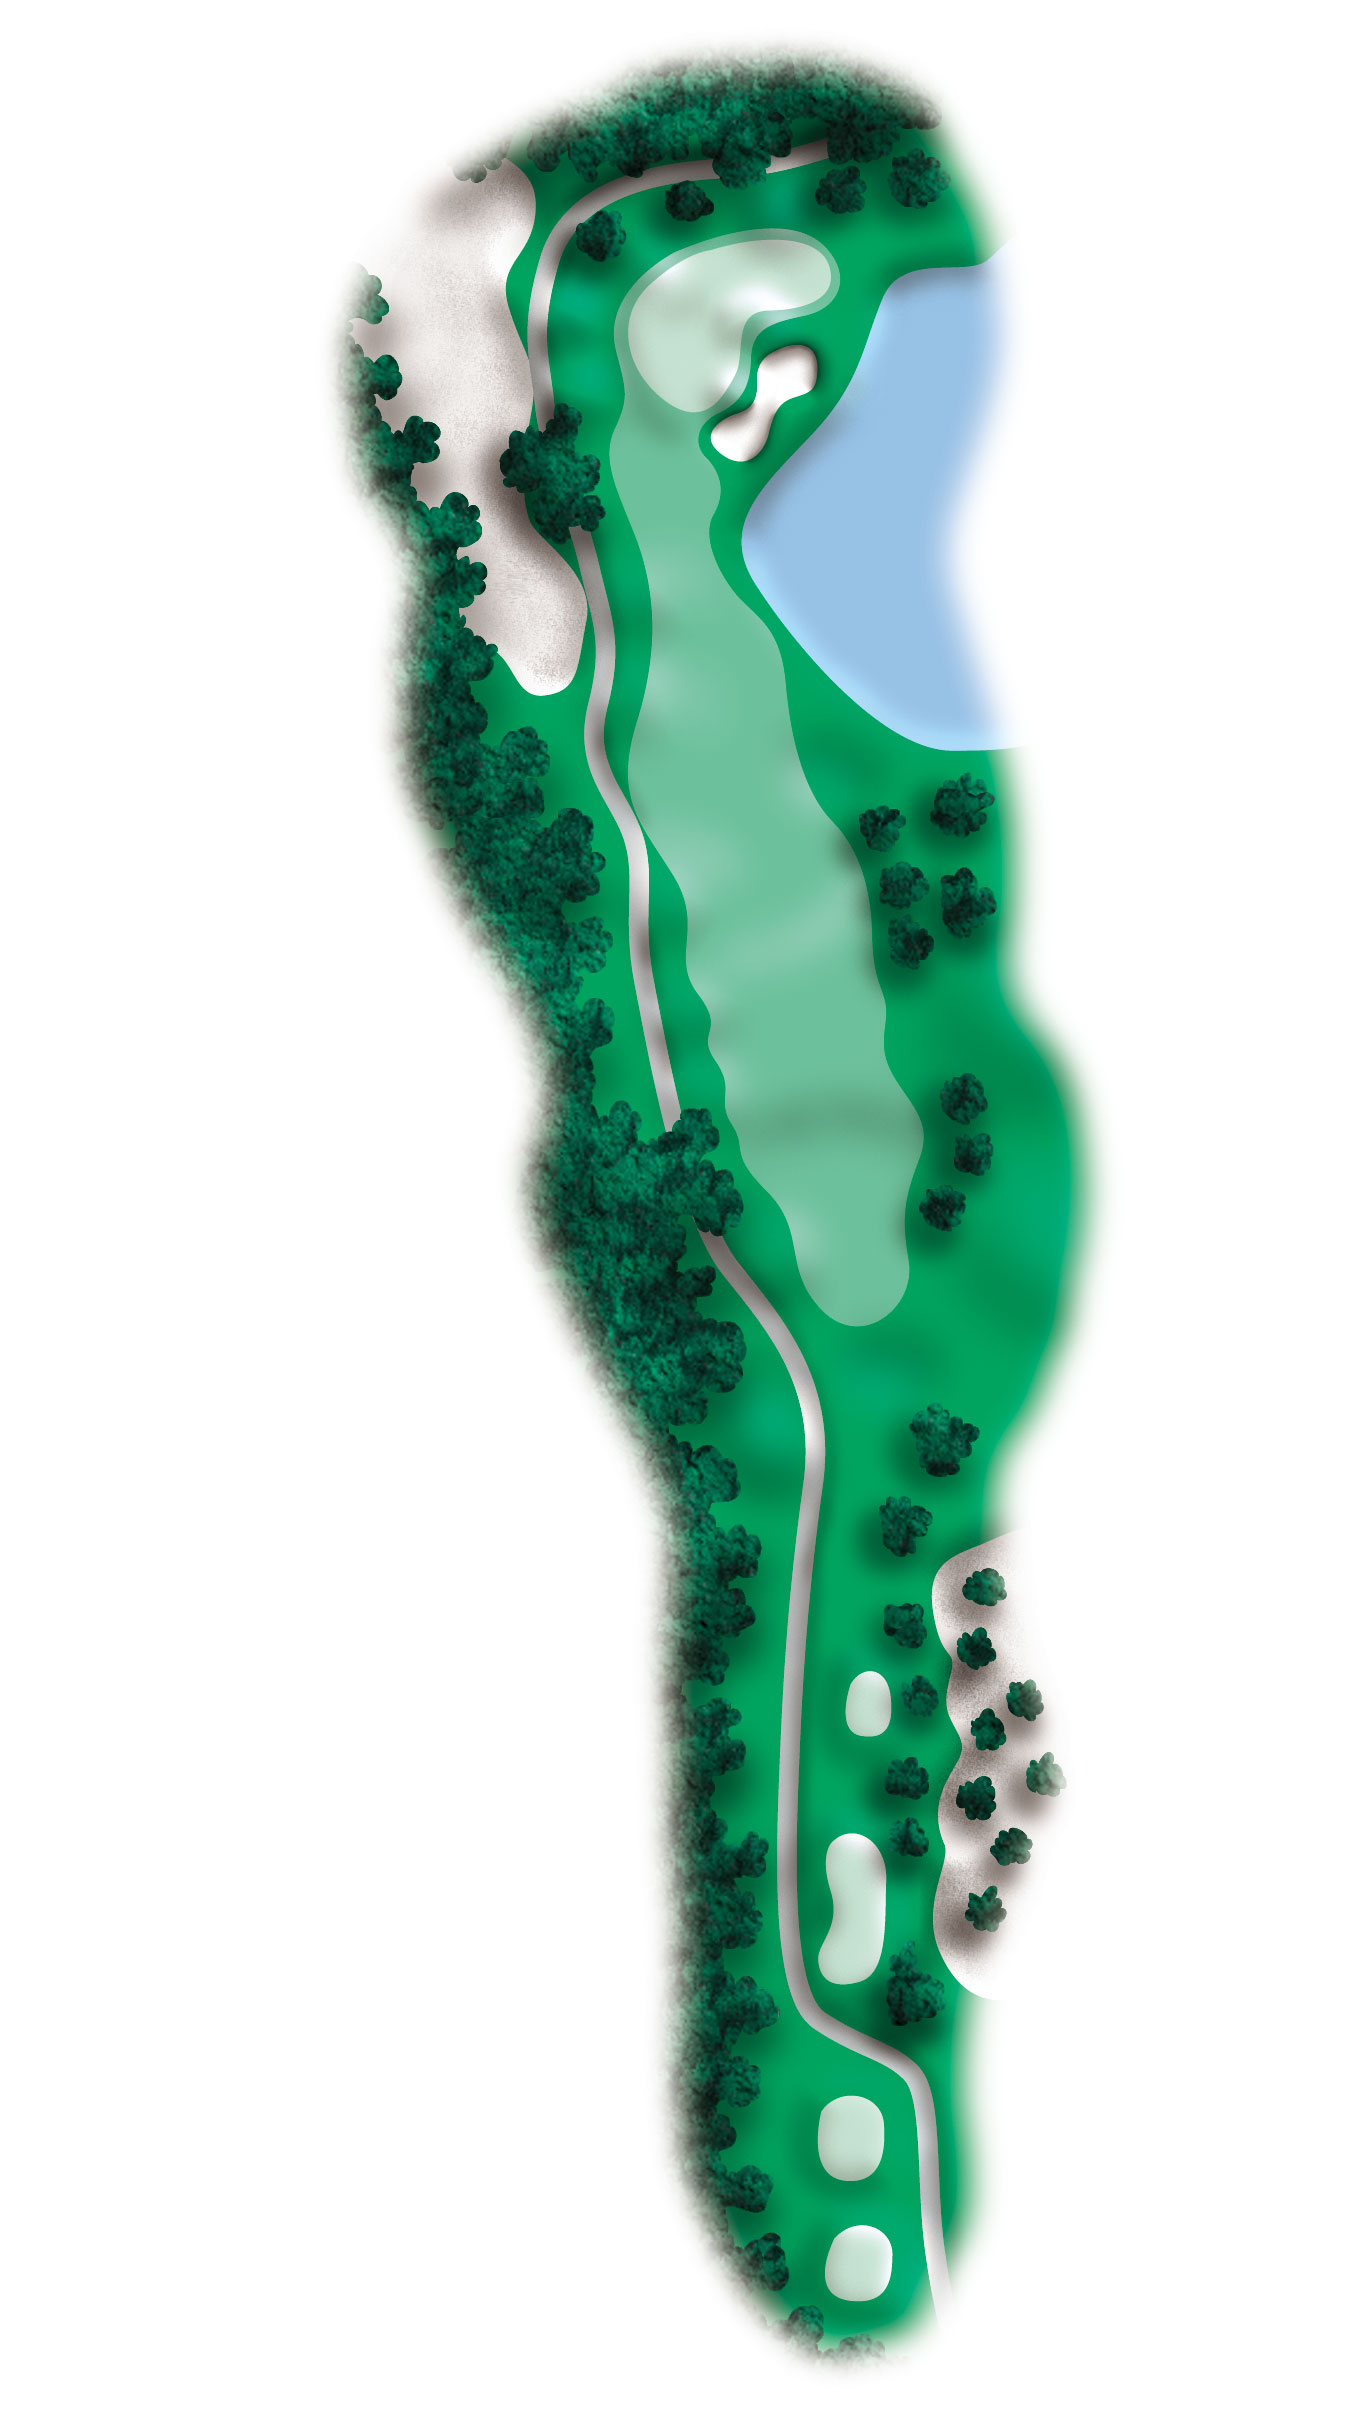
A straight away par five that requires a tee shot favoring the right side. Long hitters may have a go at this one otherwise a good lay up will leave a short iron into a deceptively deep green.
HOLE 3
HOW TO PLAY HOLE 3
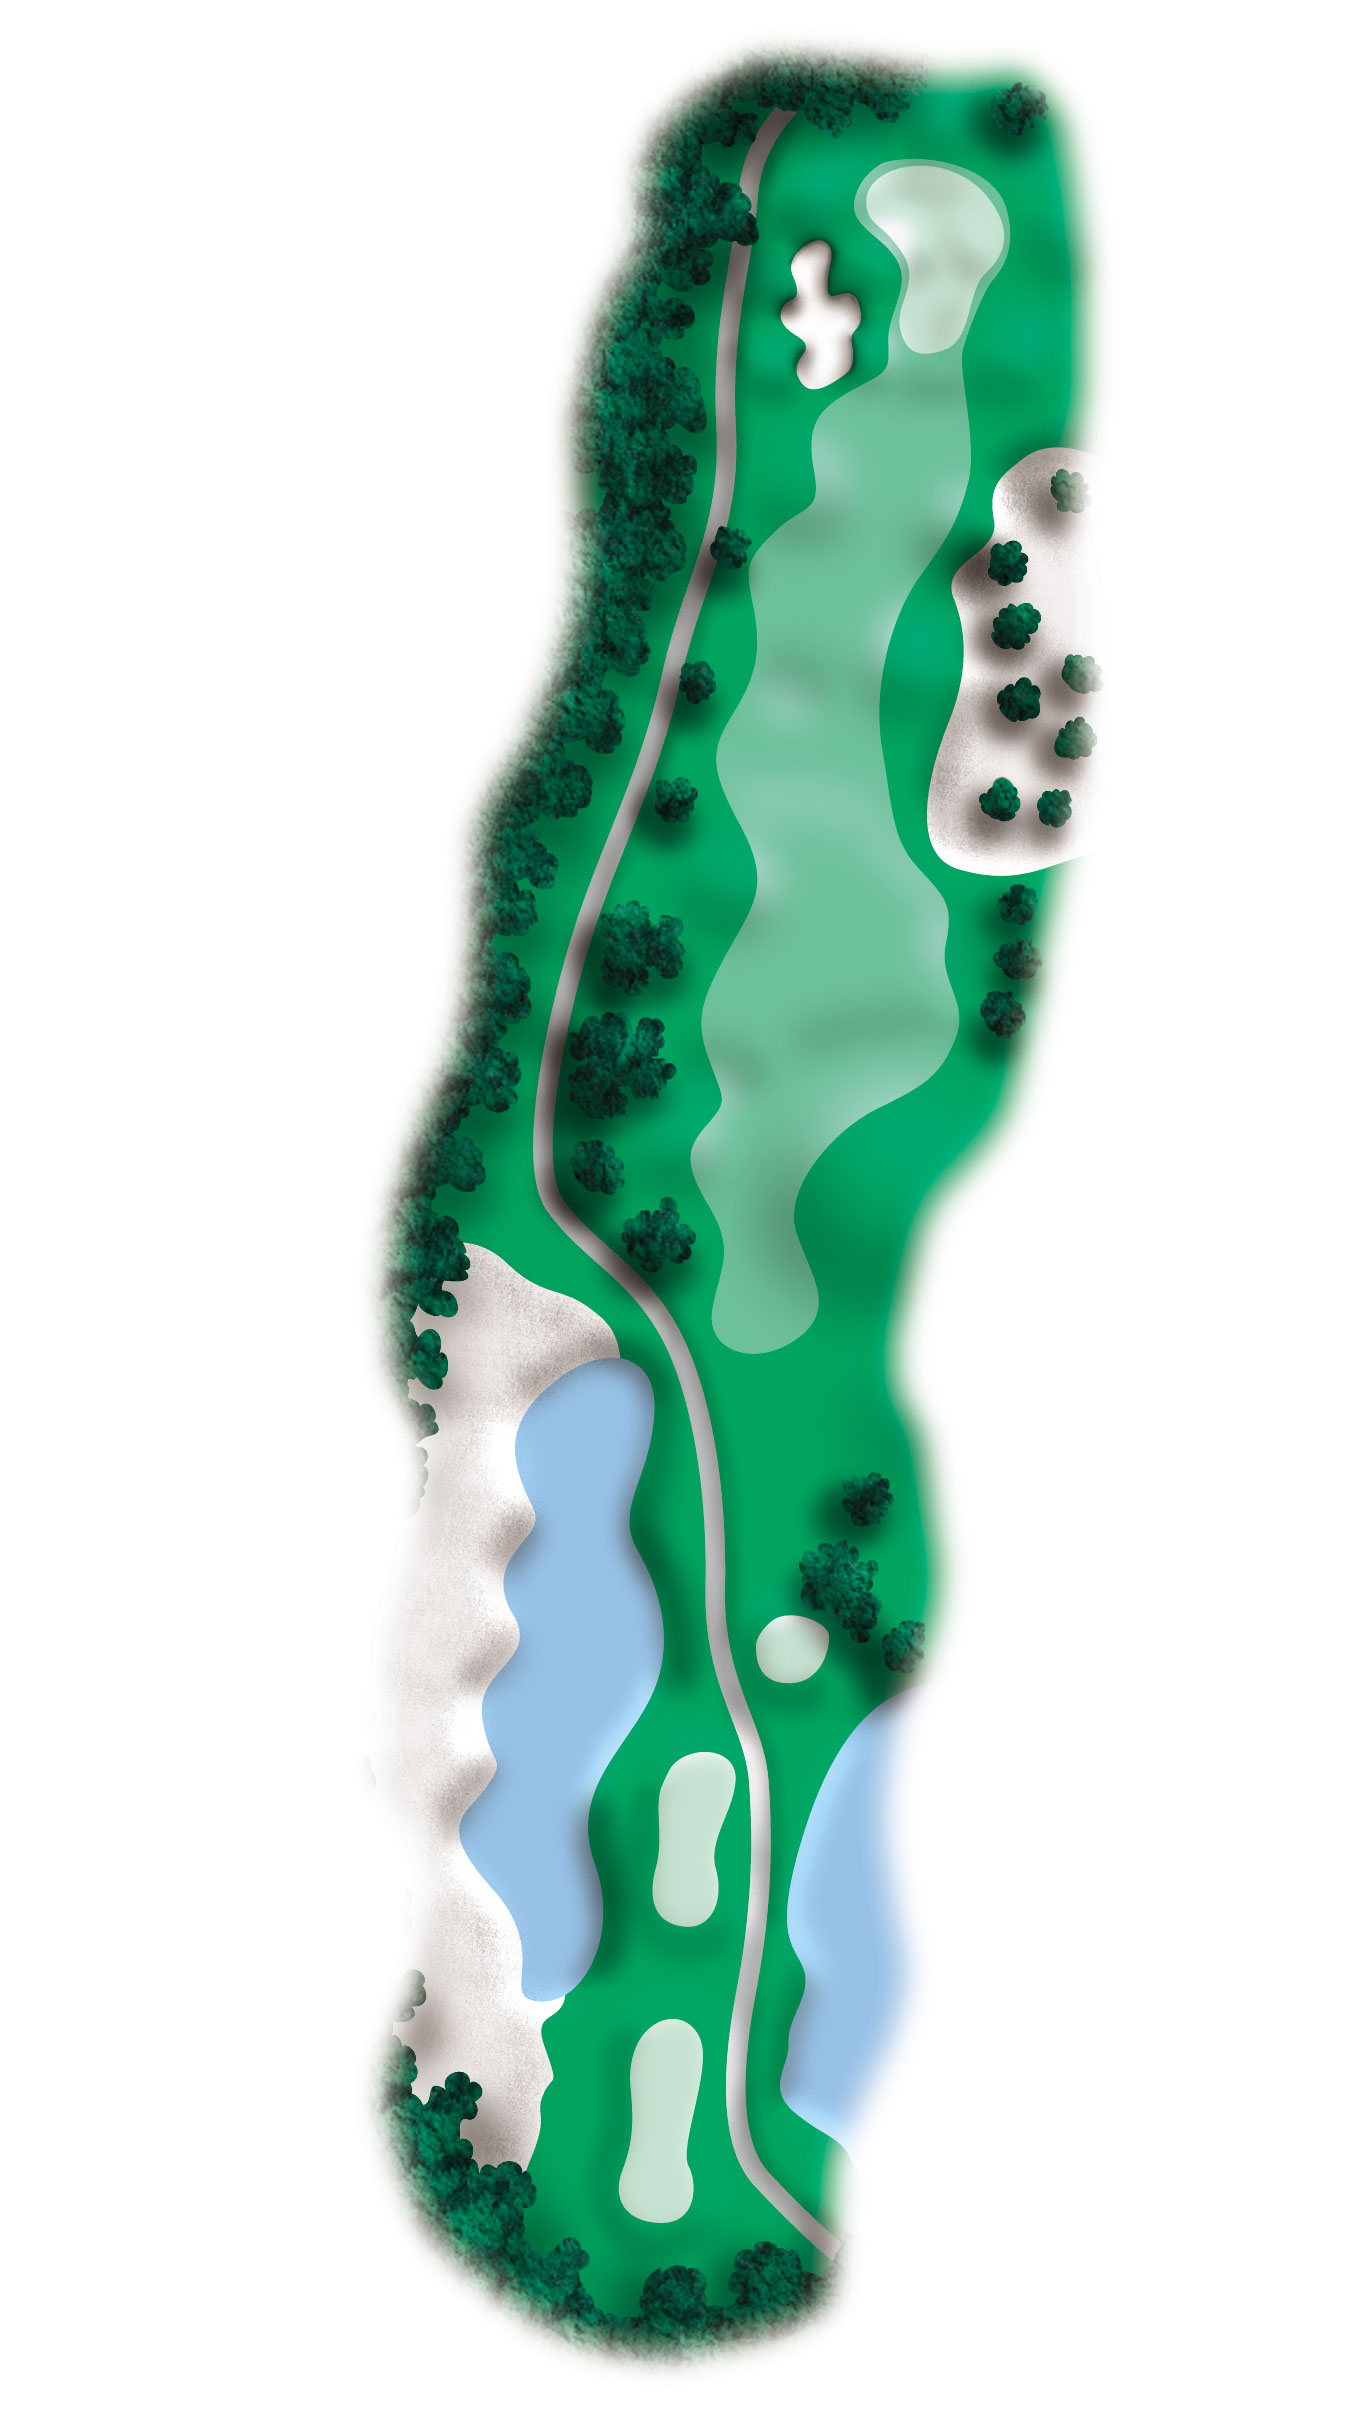
The longest par three on the course. This challenging hole requires a long, accurate tee shot to a green heavily bunkered on the left and guarded by trees on the right.
HOLE 4
HOW TO PLAY HOLE 4
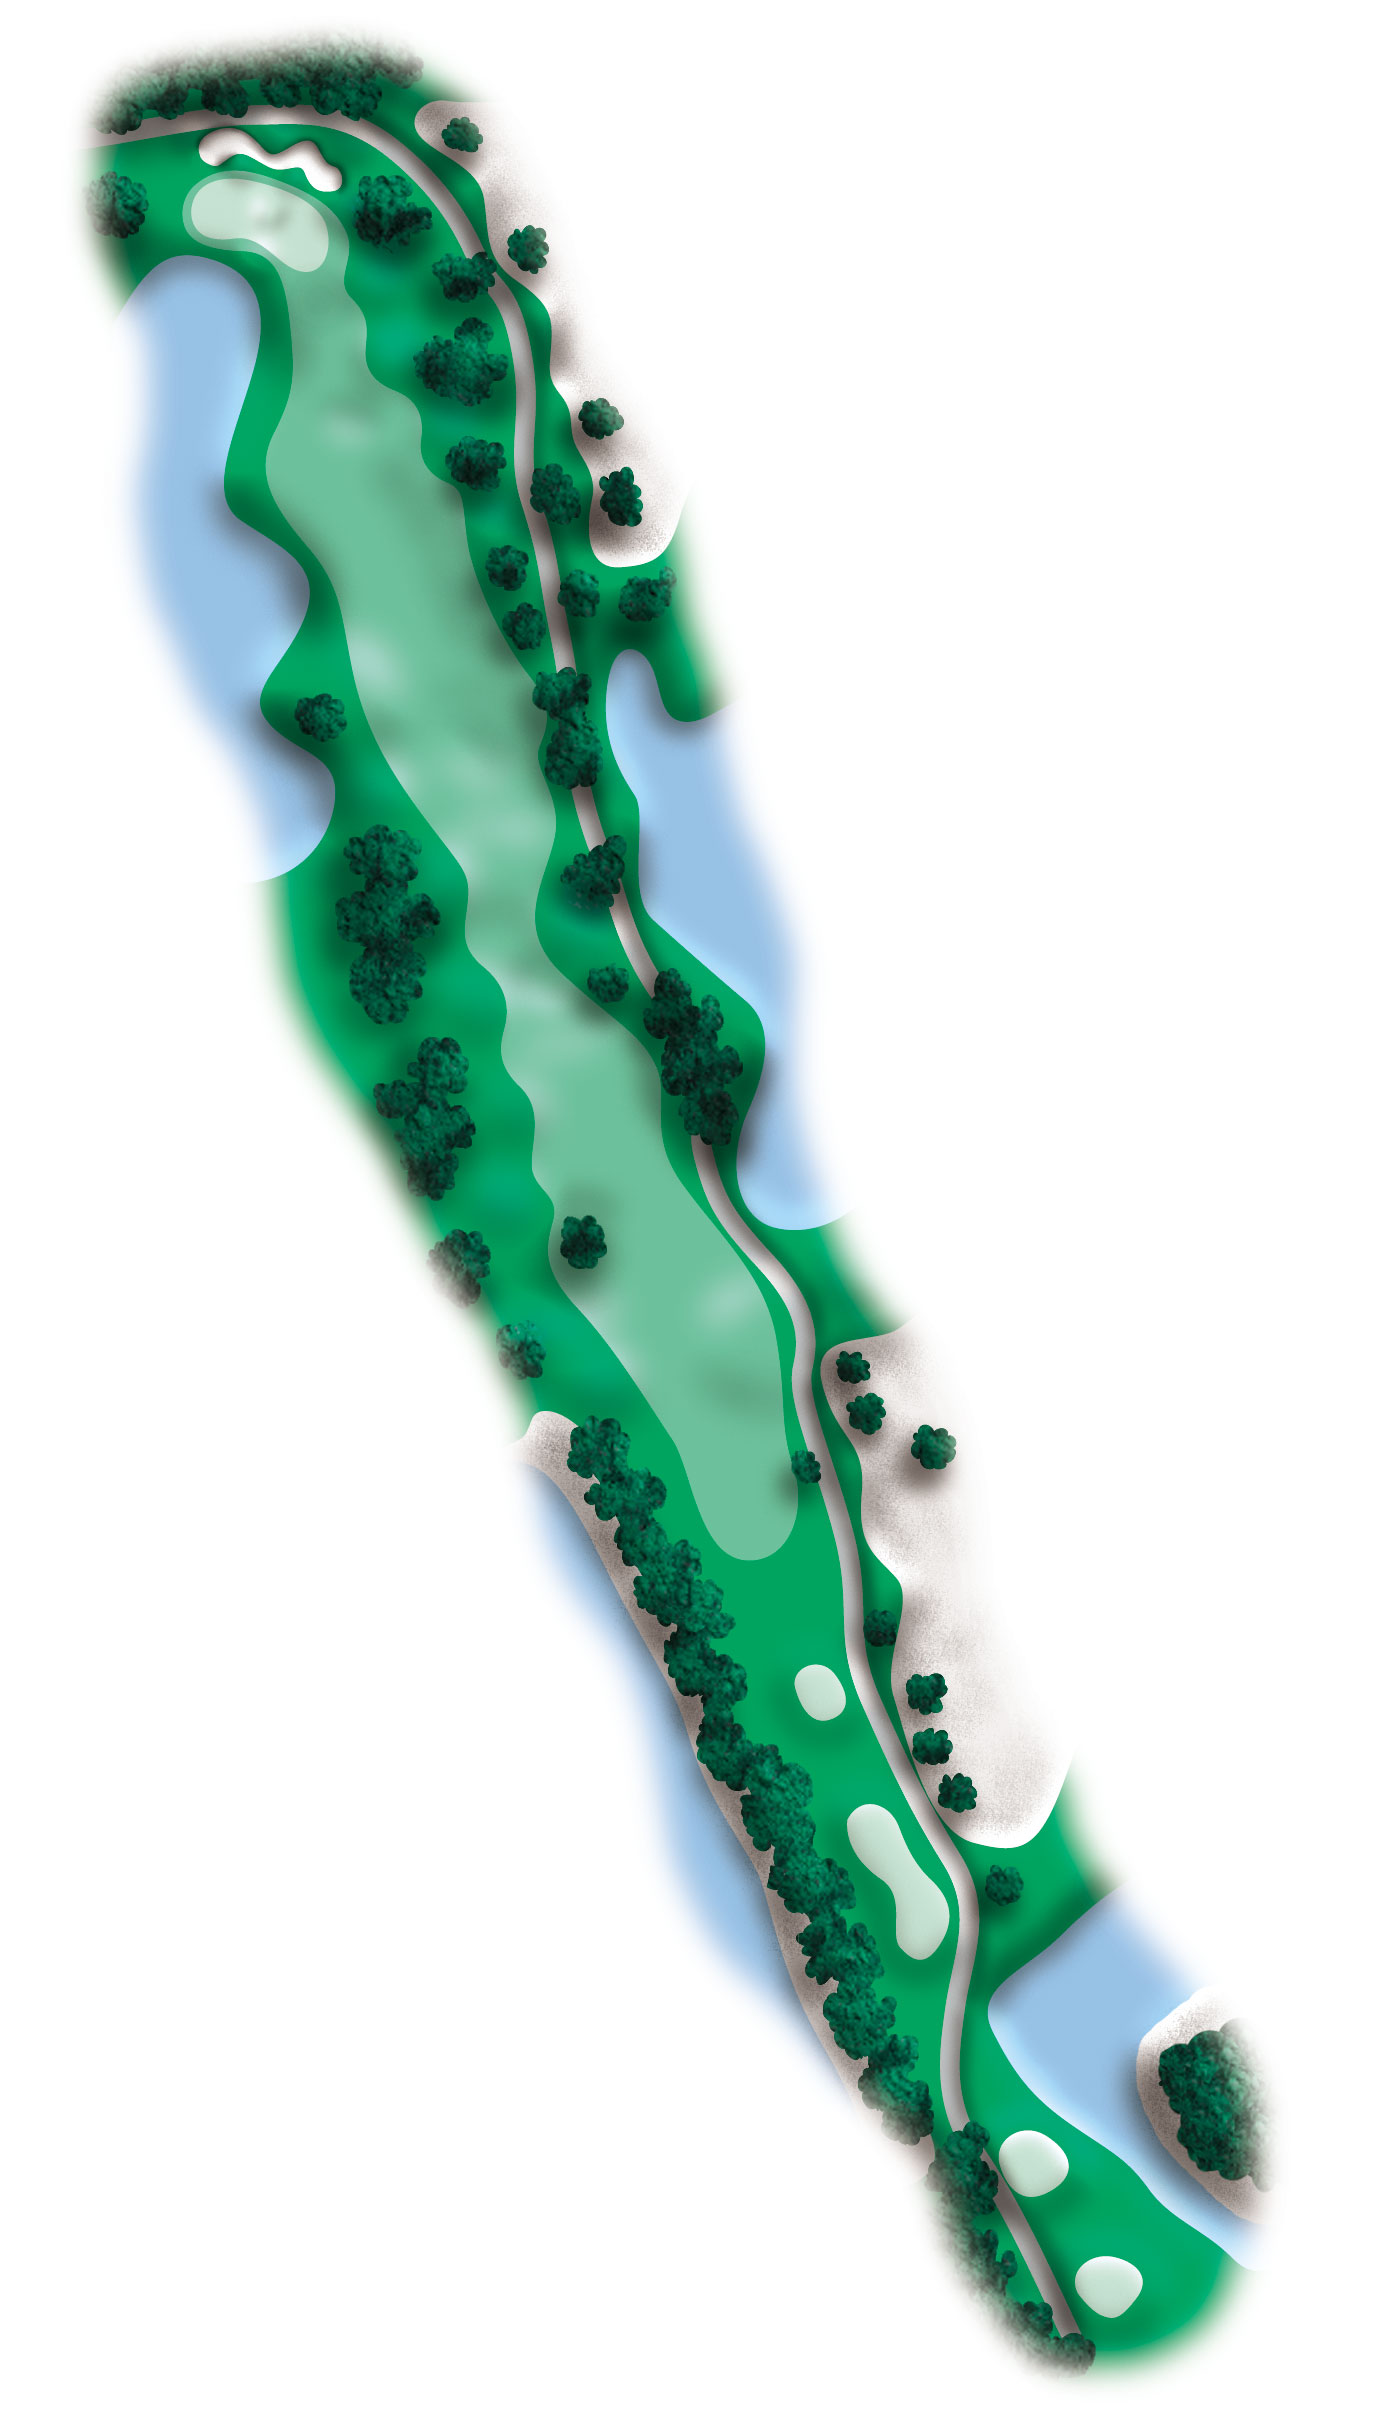
A short par four slight dog leg to the left. This hole gives the player a good chance for birdie. Avoid hitting your tee shot too far or you may be blocked by an oak tree that guards the right side of the green.
HOLE 5
HOW TO PLAY HOLE 5
This beautiful par three boasts a very deep green. Check the pin placement before selecting your club.
HOLE 6
HOW TO PLAY HOLE 6
A good tee shot on this straight away par four offers a mid iron for your second shot. Favor the left side of the fairway to avoid hitting over water and sand that guards the right side of the green.
HOLE 7
HOW TO PLAY HOLE 7
This par four offers a chance to turn the driver loose! Favor the side of the fairway to avoid the waste area on the right. Your second shot will be to a severely sloping multi-tiered green.
HOLE 8
HOW TO PLAY HOLE 8
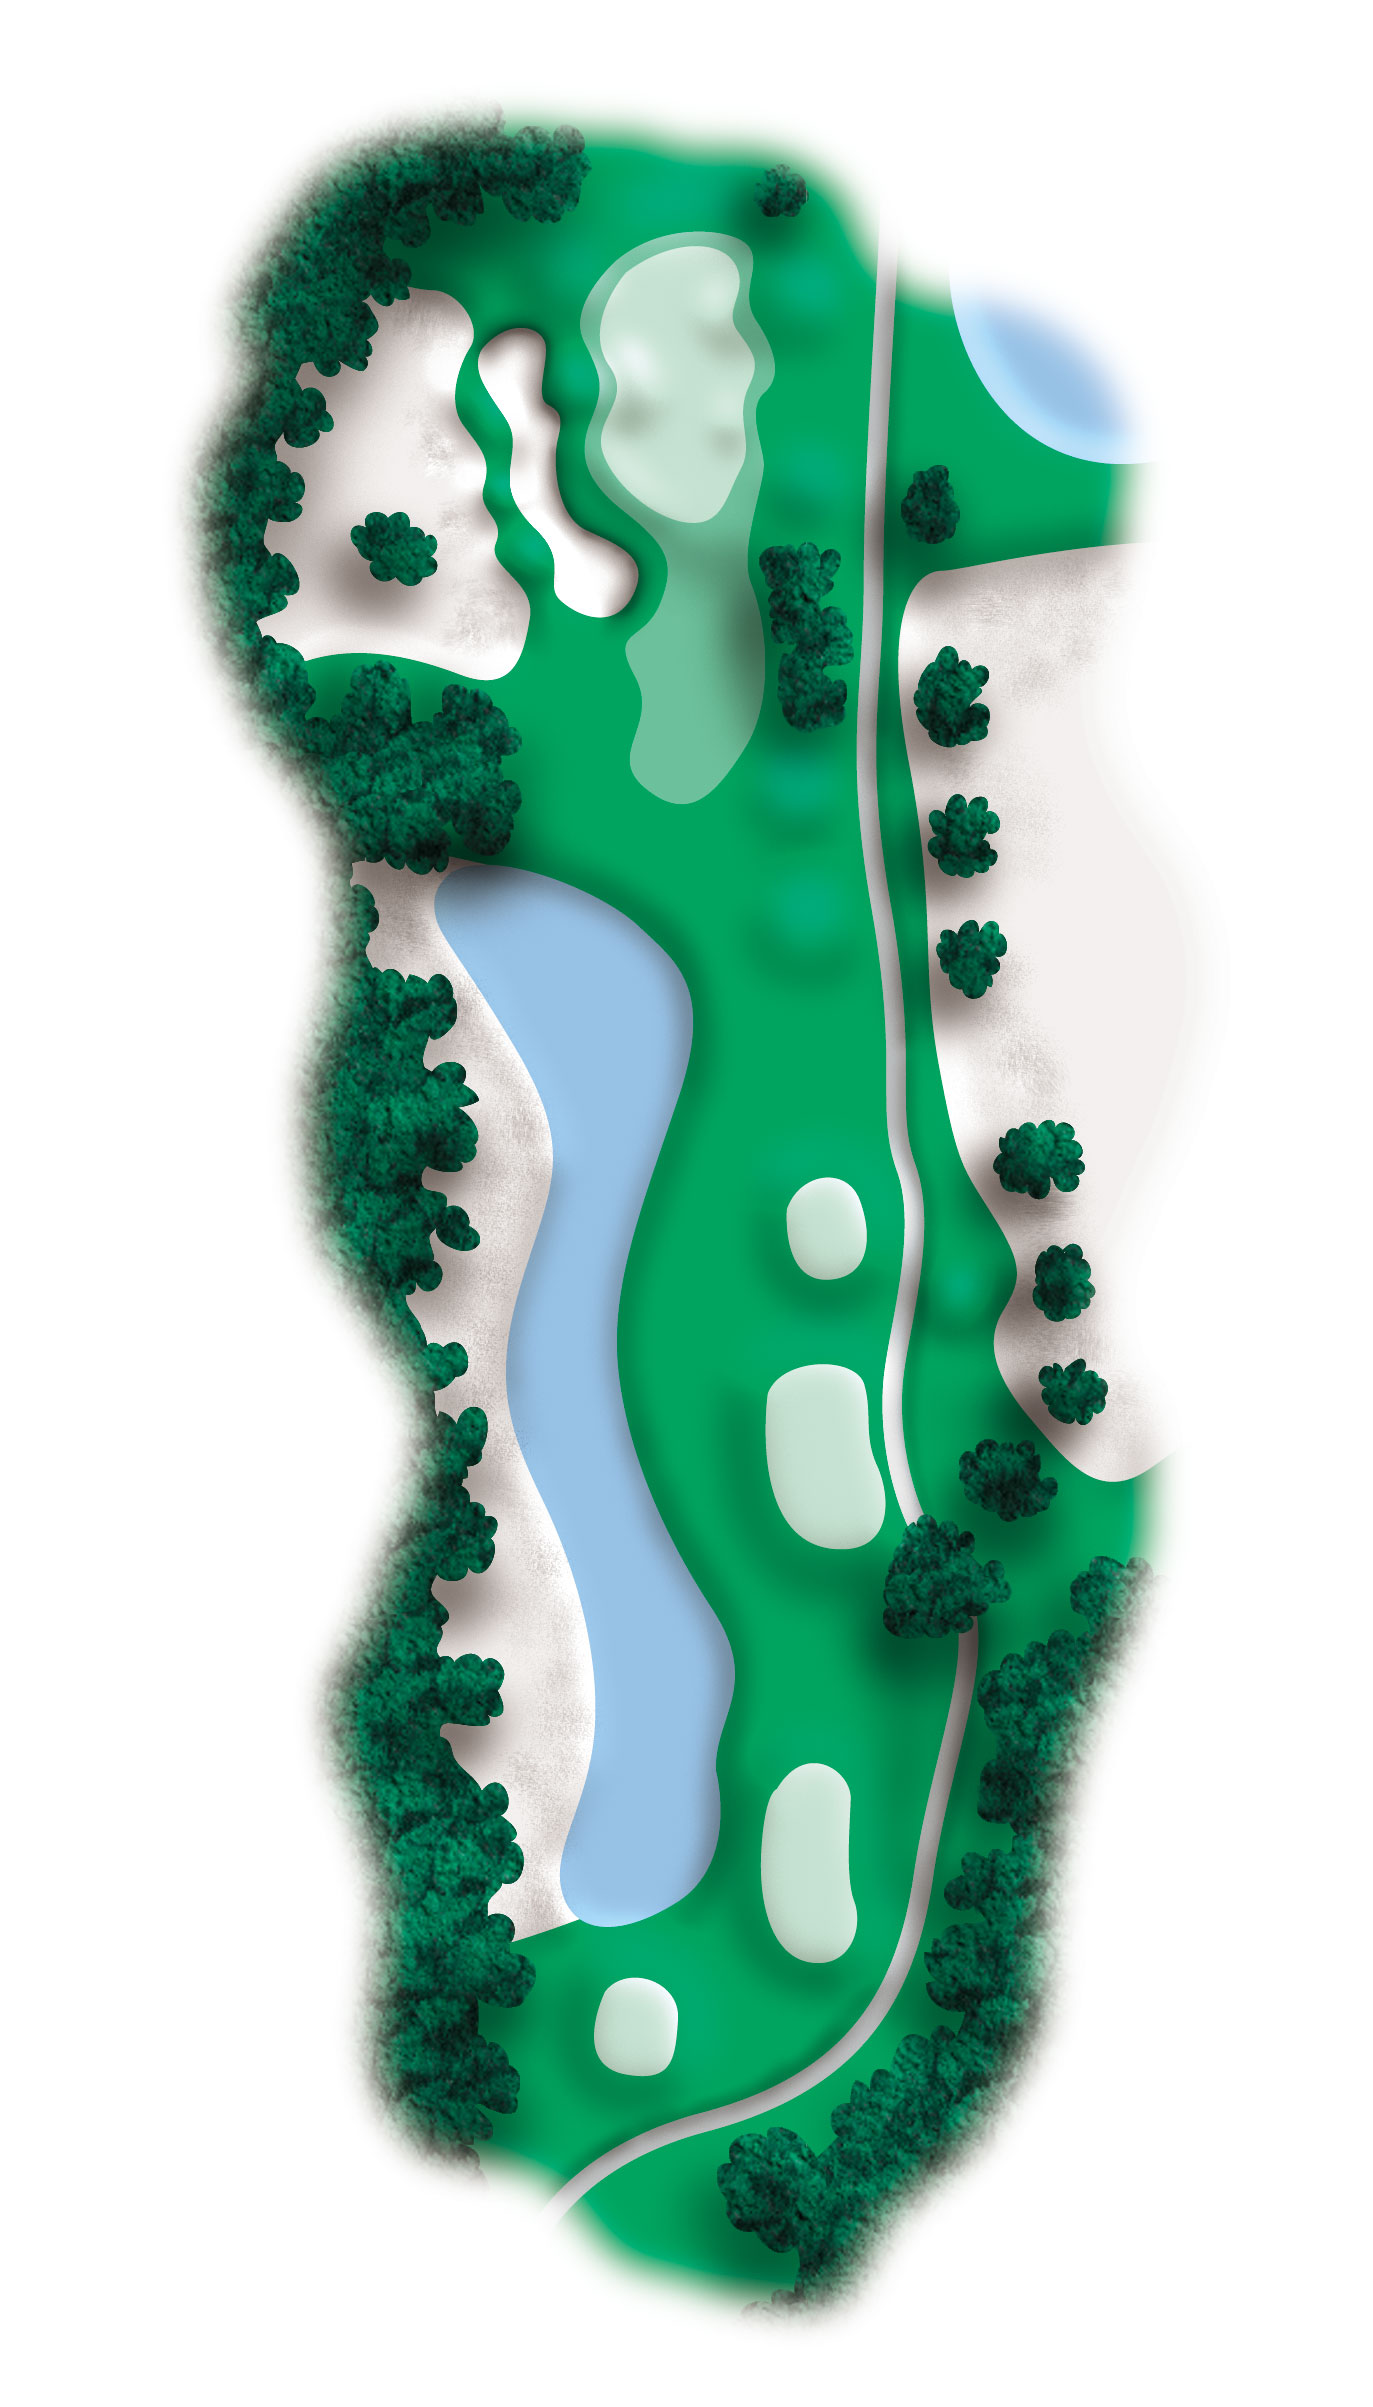
This long par five demands an accurate tee shot. Your lay up should be to the right of the 150 yard marker to avoid water that guards the left side of the fairway. Do not be long with your approach as the green is well bunkered long.
HOLE 9
HOW TO PLAY HOLE 9
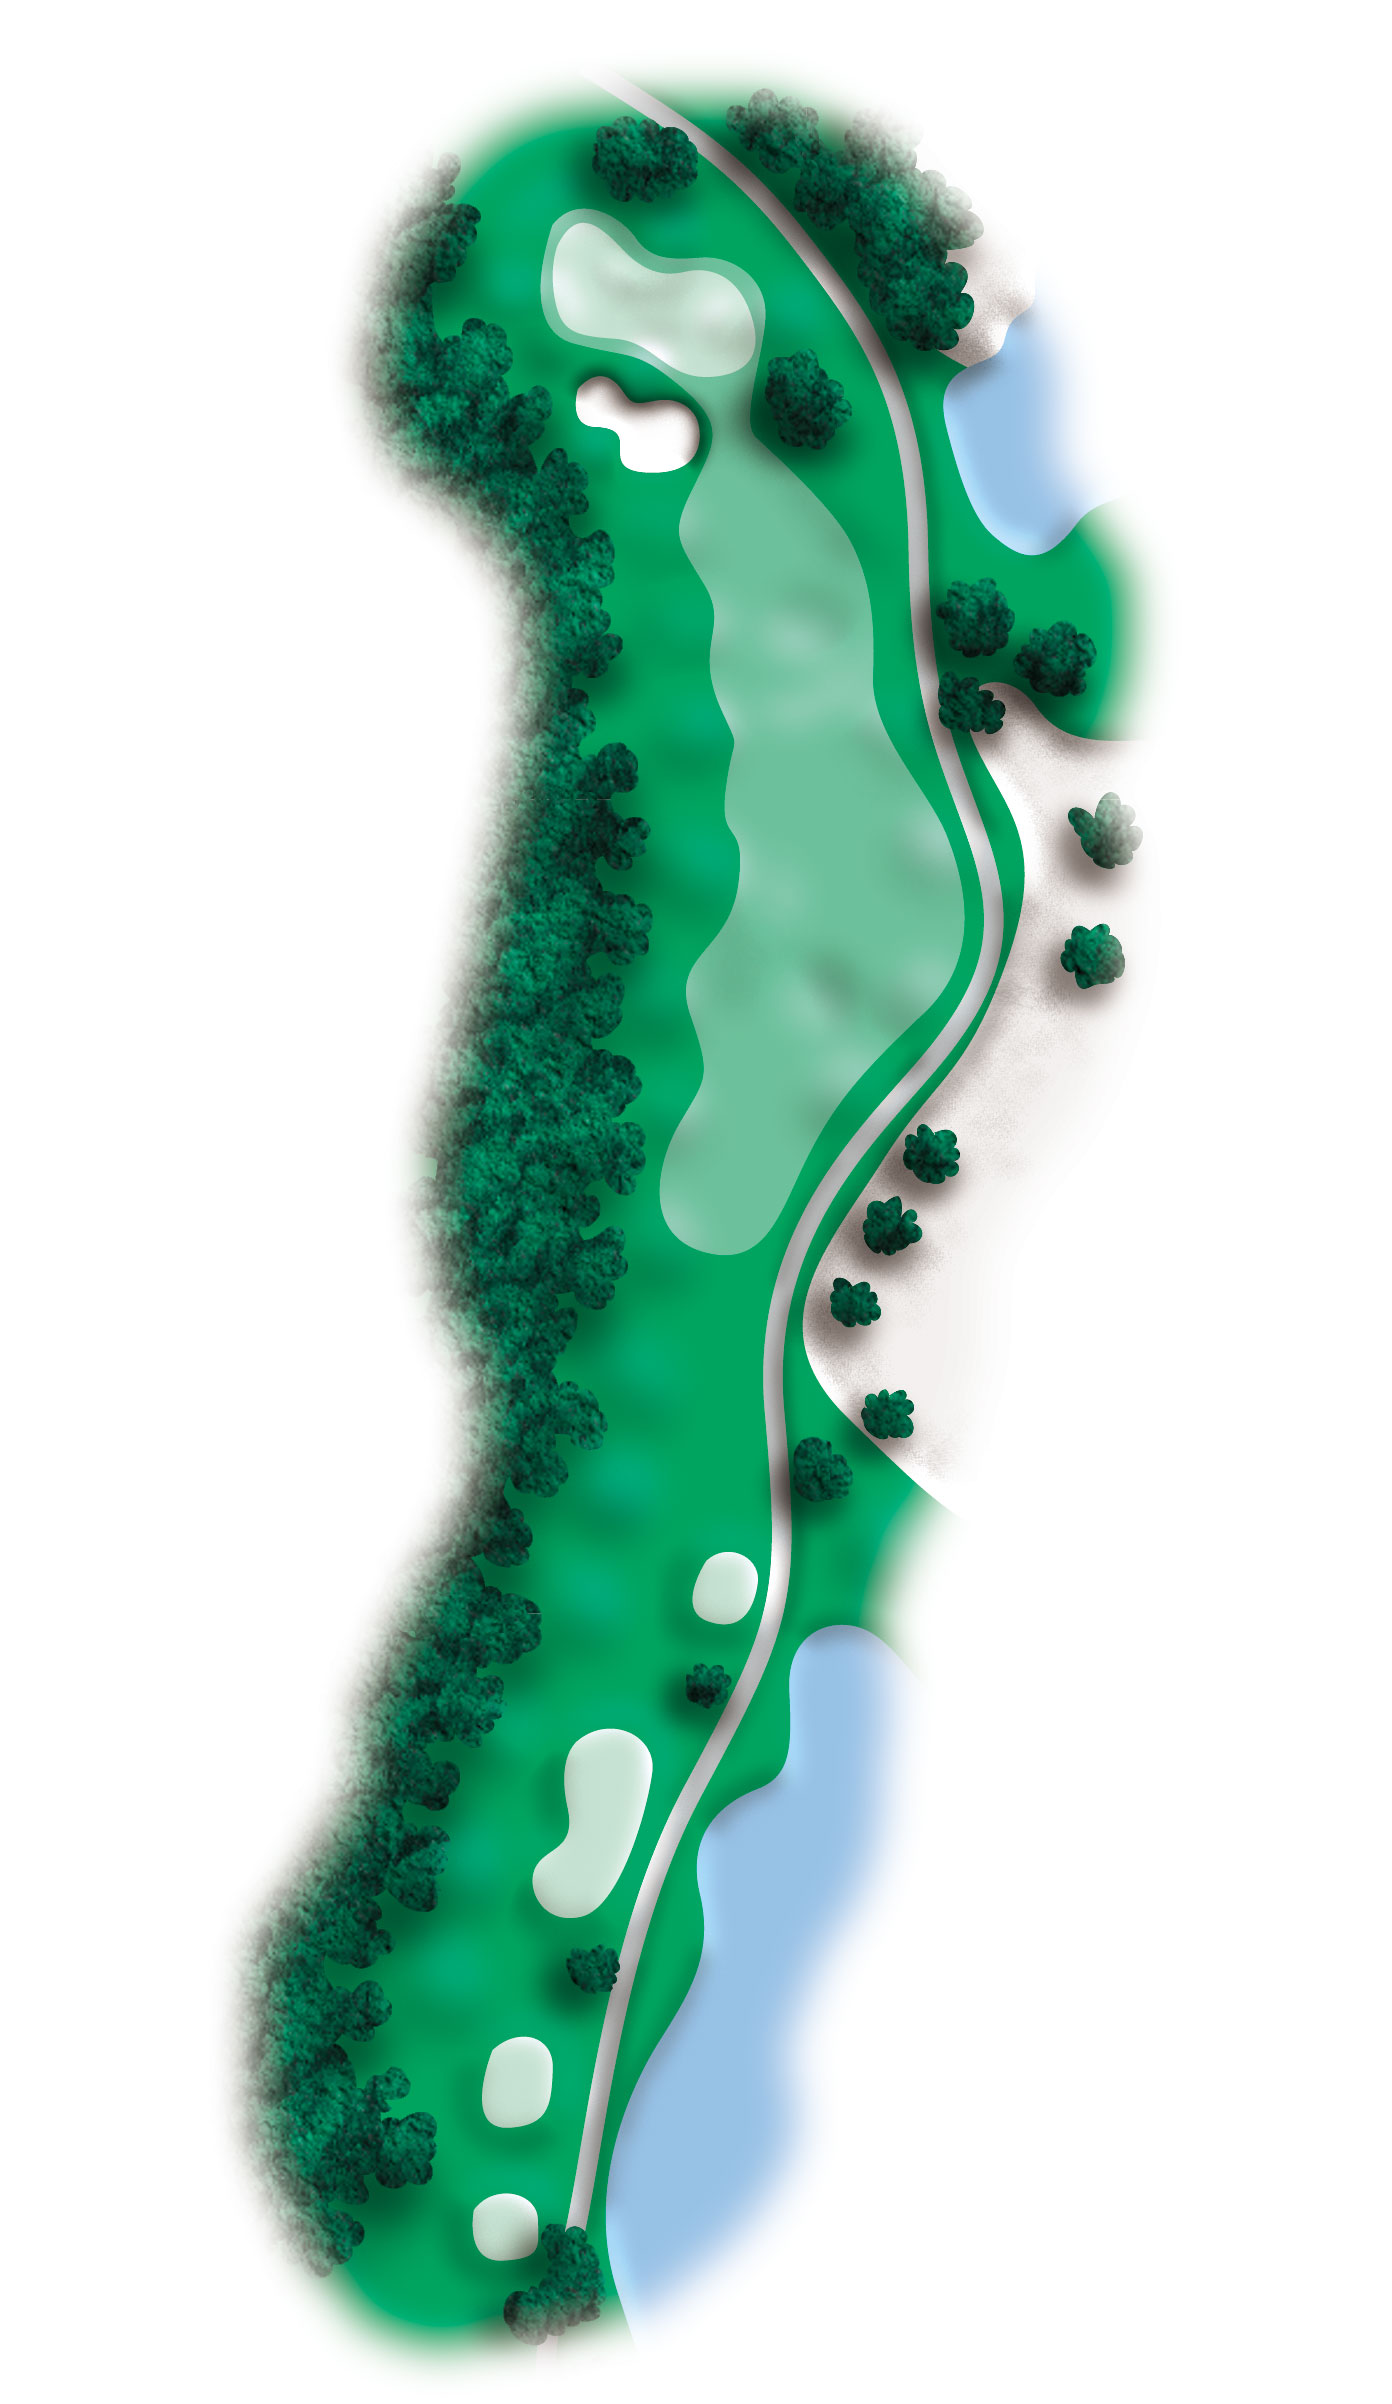
A par four that dog legs to the left, long hitters may choose to favor the left side in order to leave a short iron in. Shorter hitters should aim for the 150 yard marker leaving a mid iron hitting downhill to the green.

