MARSH COURSE
HOLE 1
HOW TO PLAY HOLE 1
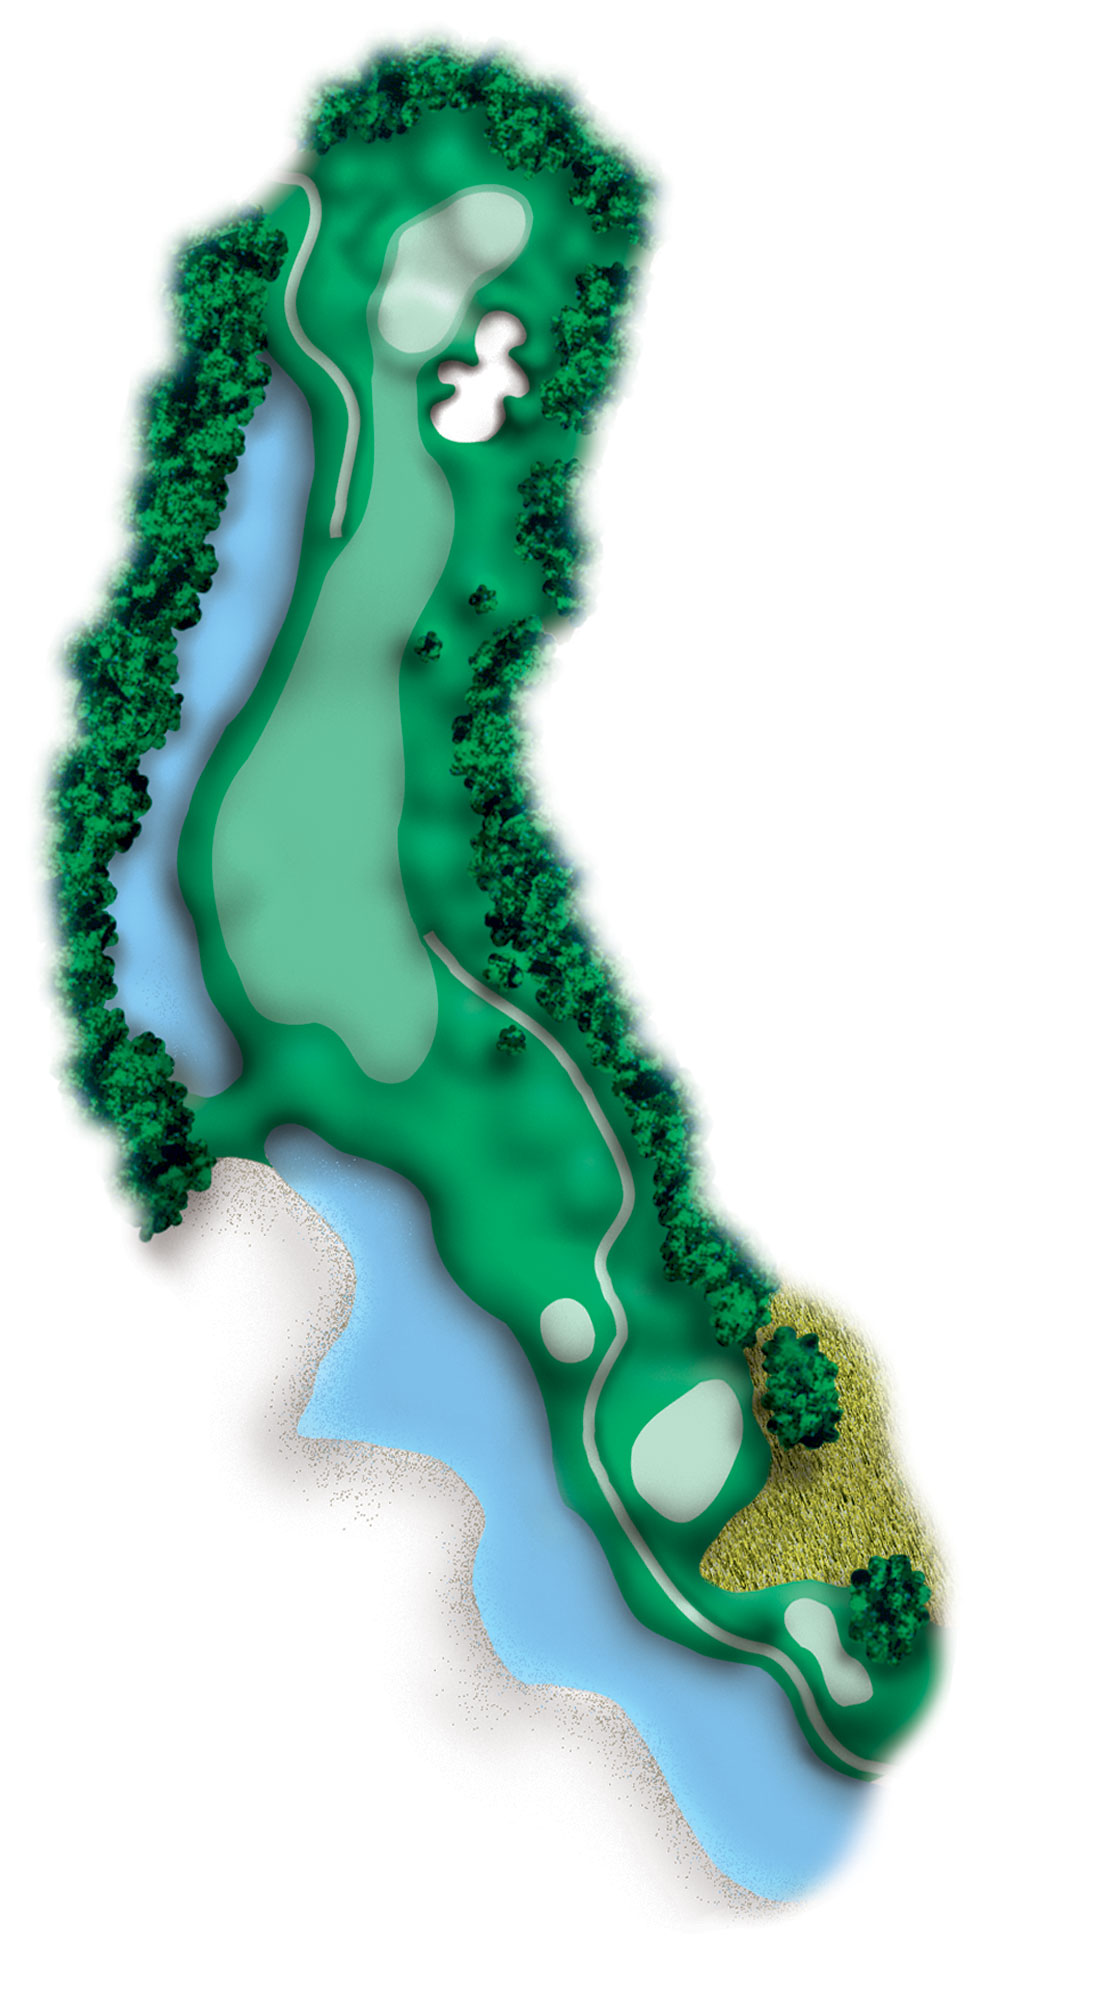
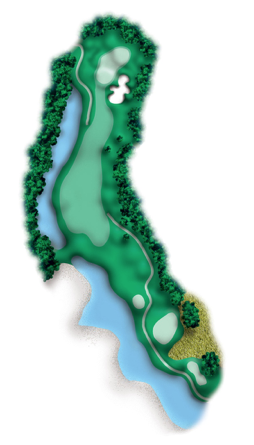
A slight dogleg right. Favor the right center of fairway to avoid hitting into water left. Big hitters should consider a fairway wood or long iron off the tee.
HOLE 2
HOW TO PLAY HOLE 2
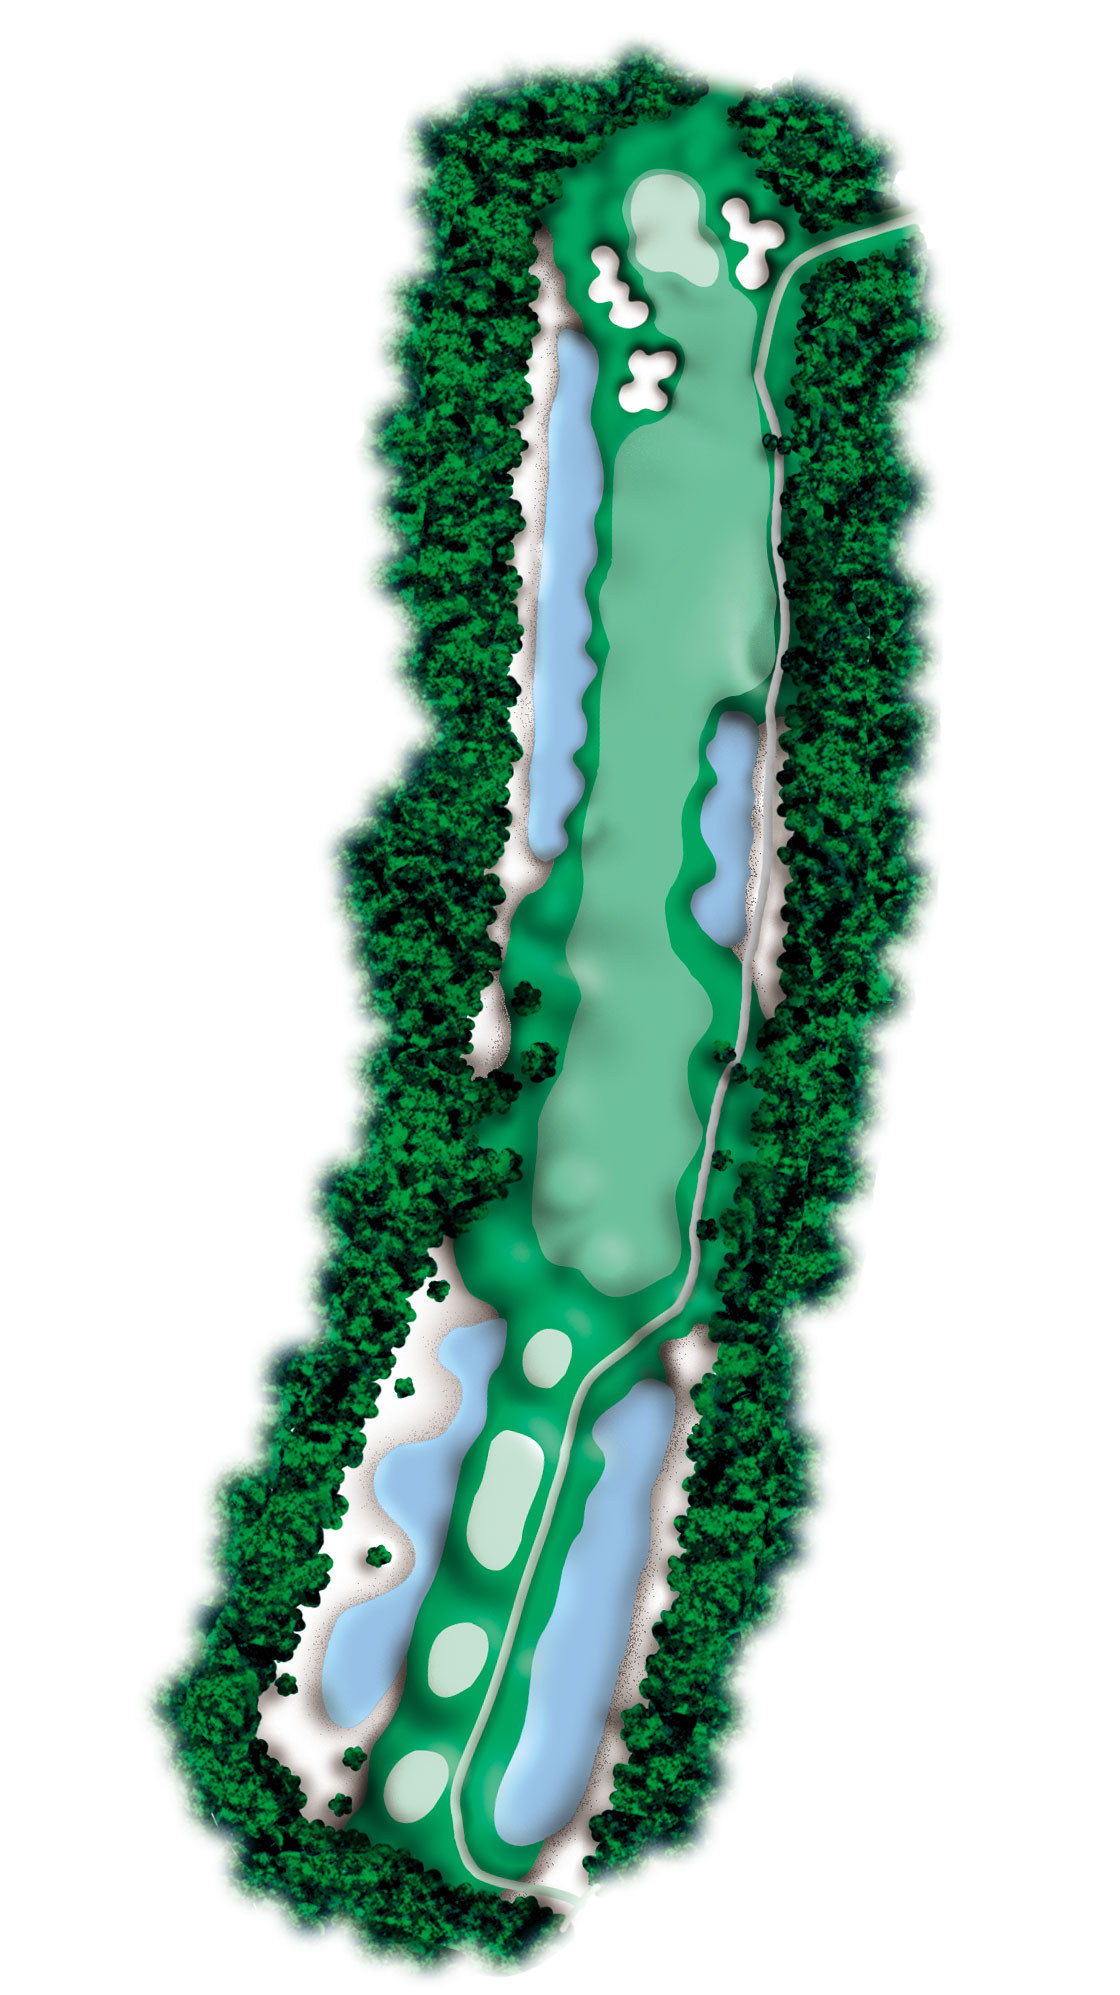
A spacious landing area starts this three shot par five. With a good tee shot, the lake on right may be carried by your second shot, leaving you a short iron to the green.
HOLE 3
HOW TO PLAY HOLE 3
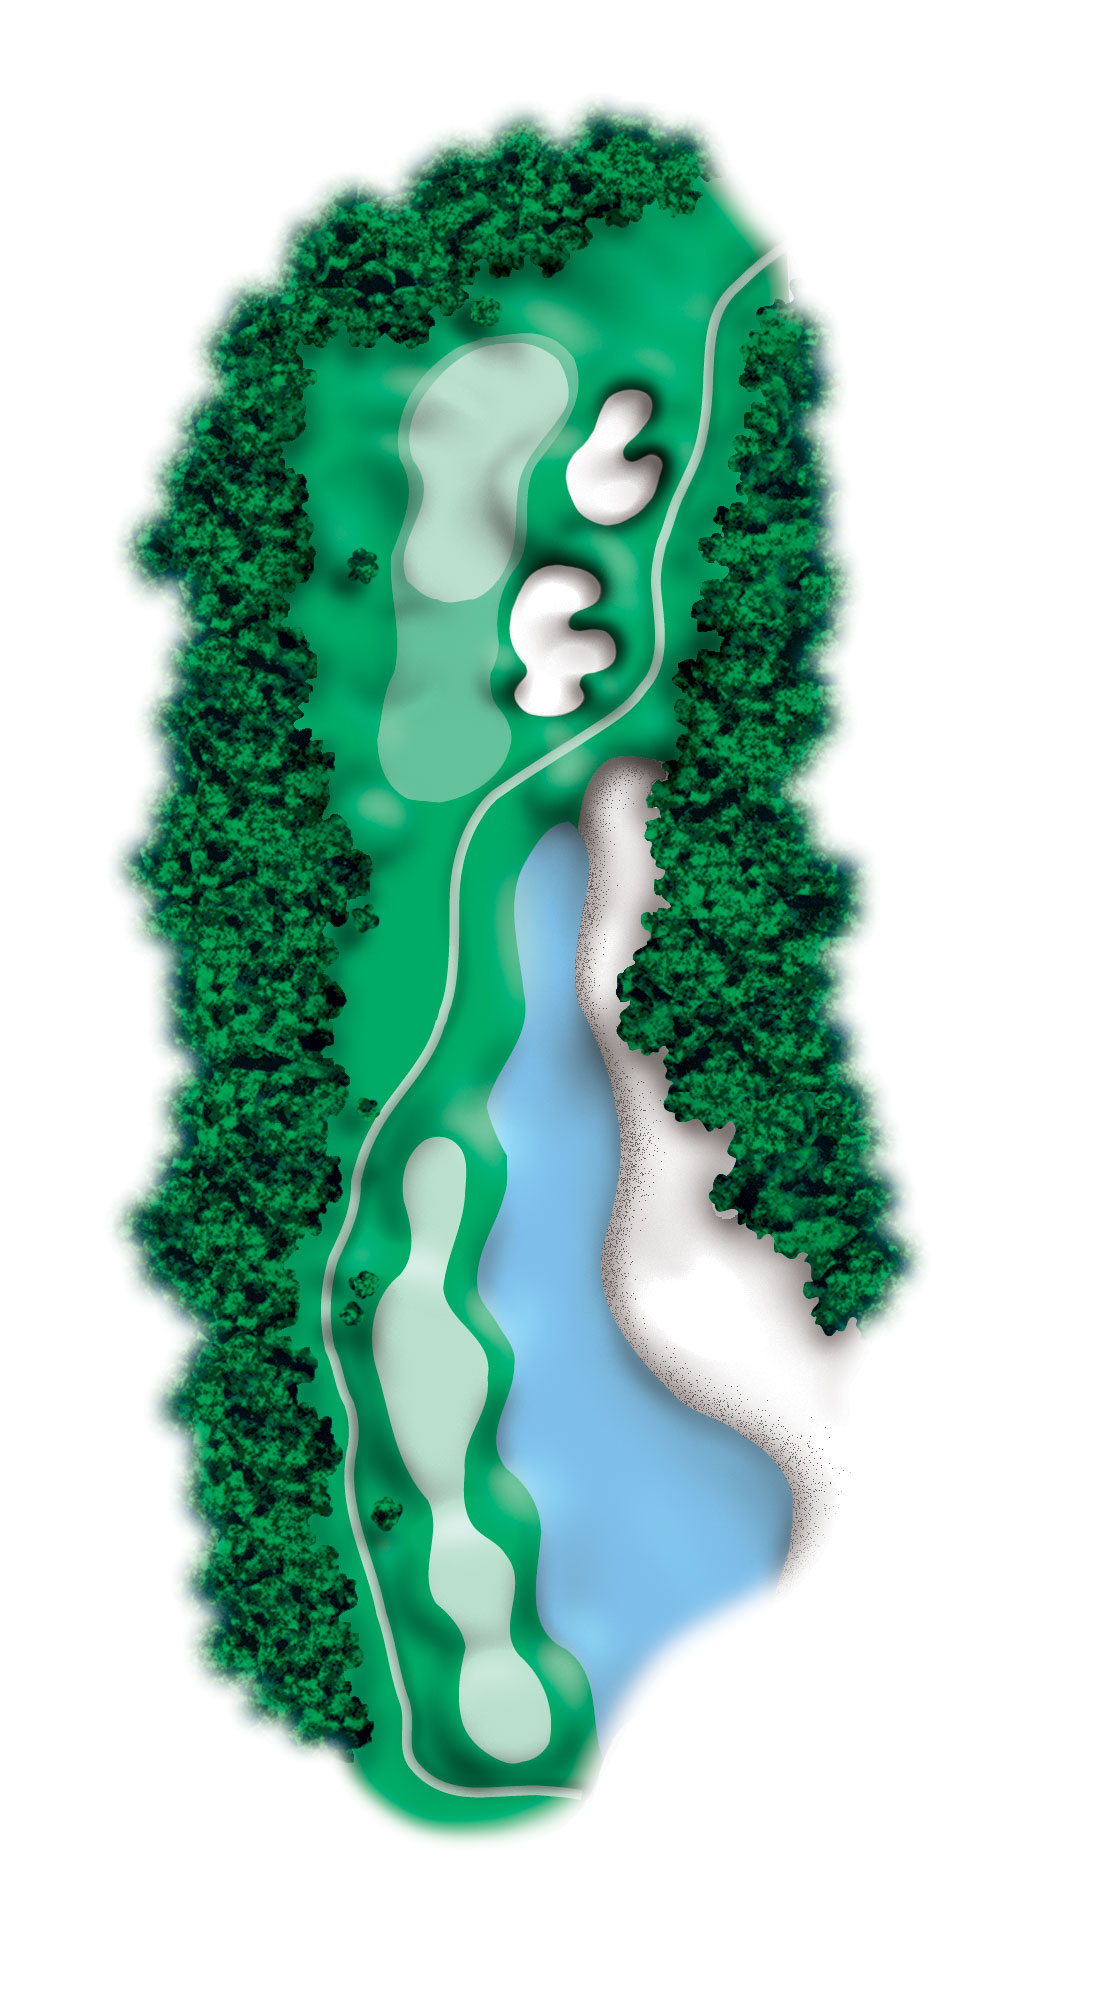
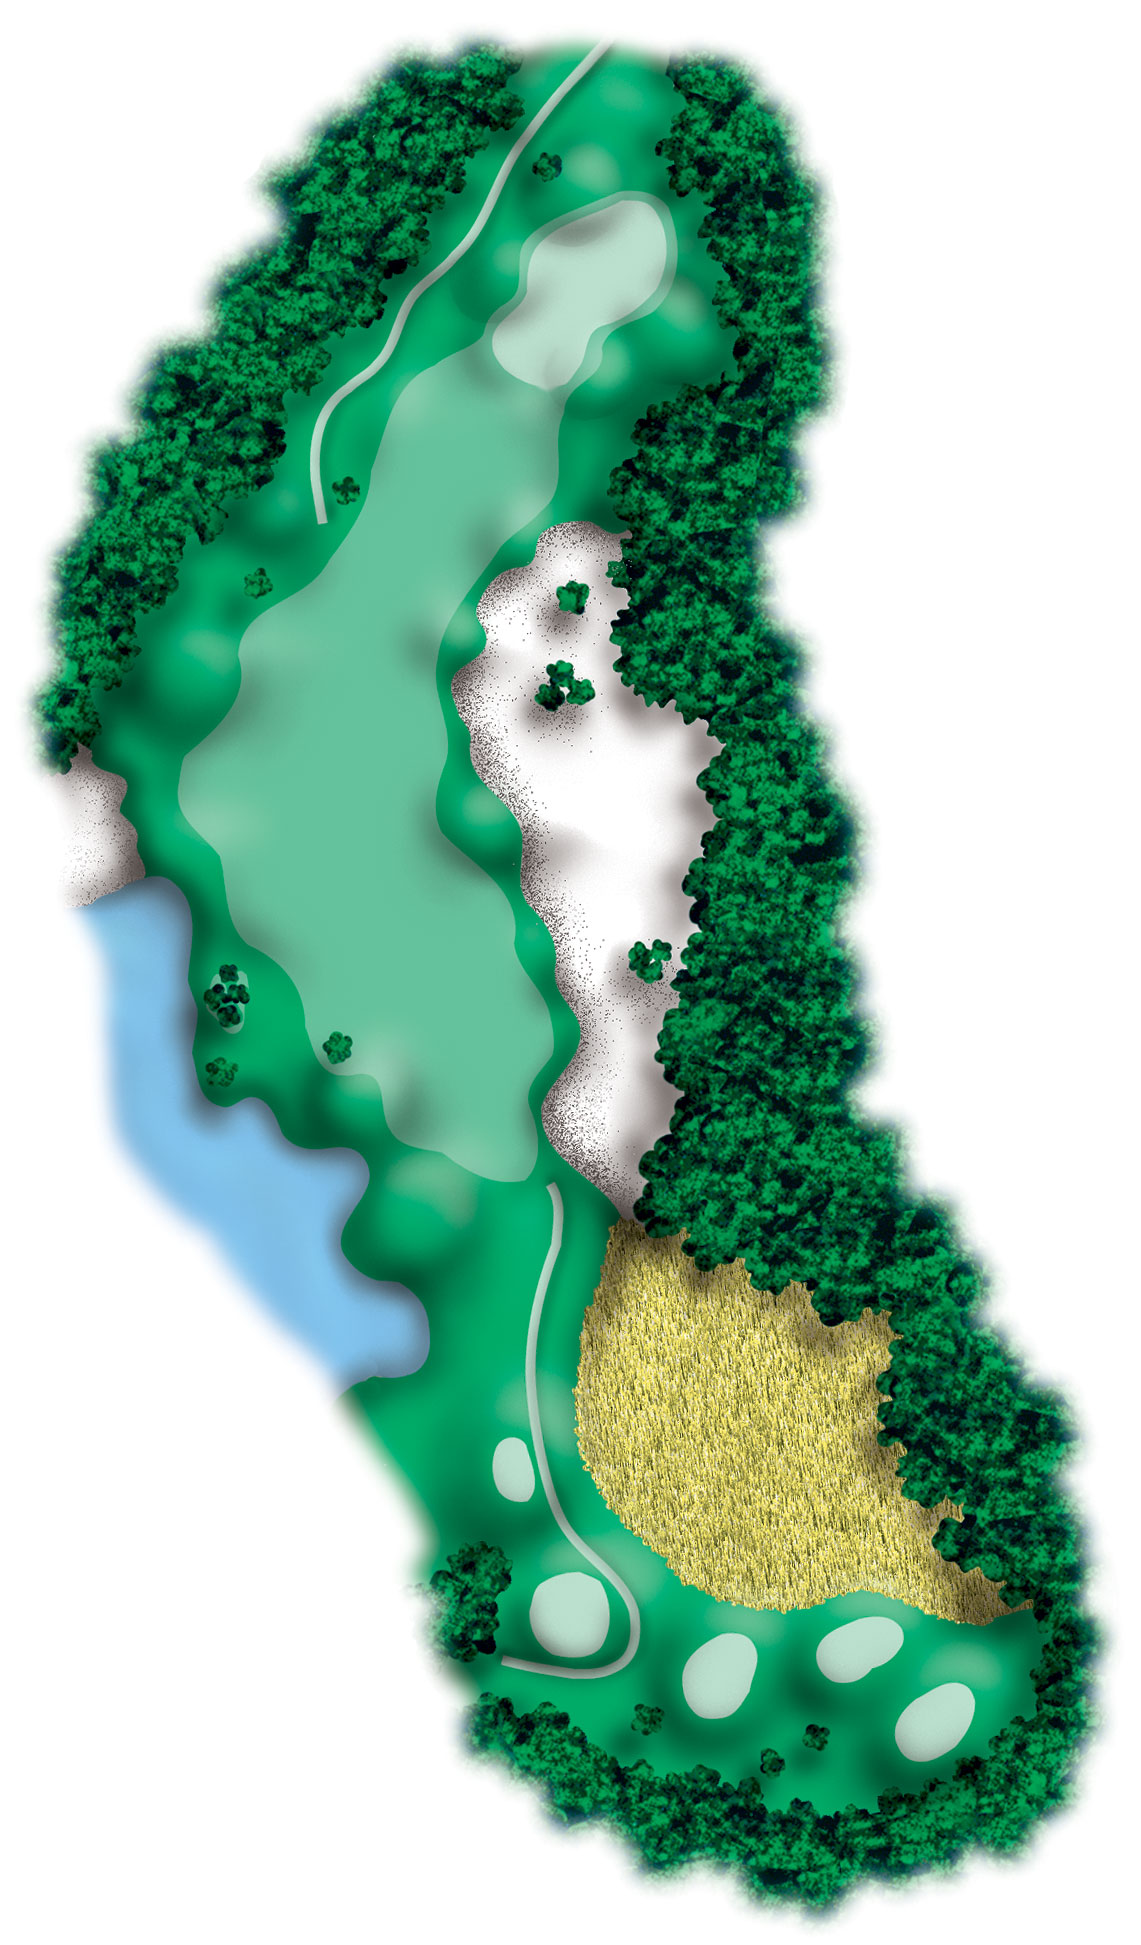
This long par four requires a tee shot to the left center of the fairway. A waste area and three trees guard a large green which slopes back to front.
HOLE 4
HOW TO PLAY HOLE 4
Club selection is at a premium. This large green is protected by bunkers right and trees left.
HOLE 5
HOW TO PLAY HOLE 5
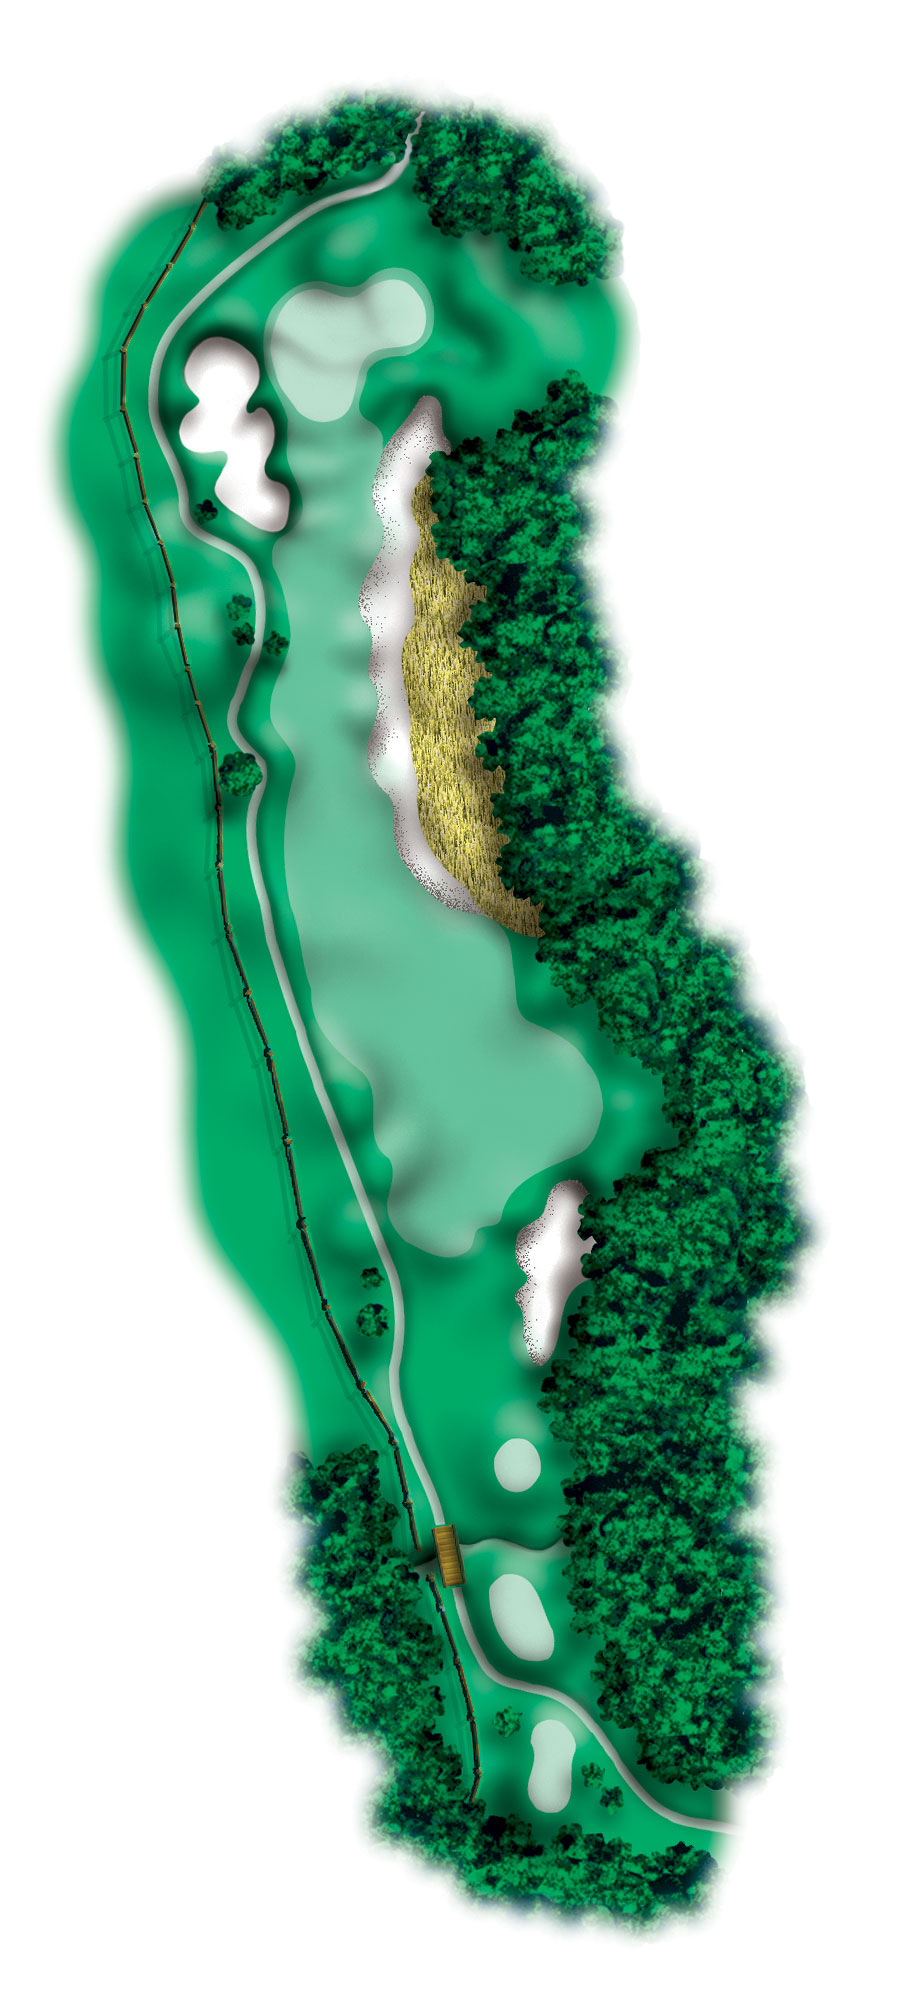
Note the distance to the waste area and wetlands through the fairway on the right. The split rail fence defines out of bounds. A fairway wood or long iron will leave you a mid iron approach to a tiered green.
HOLE 6
HOW TO PLAY HOLE 6
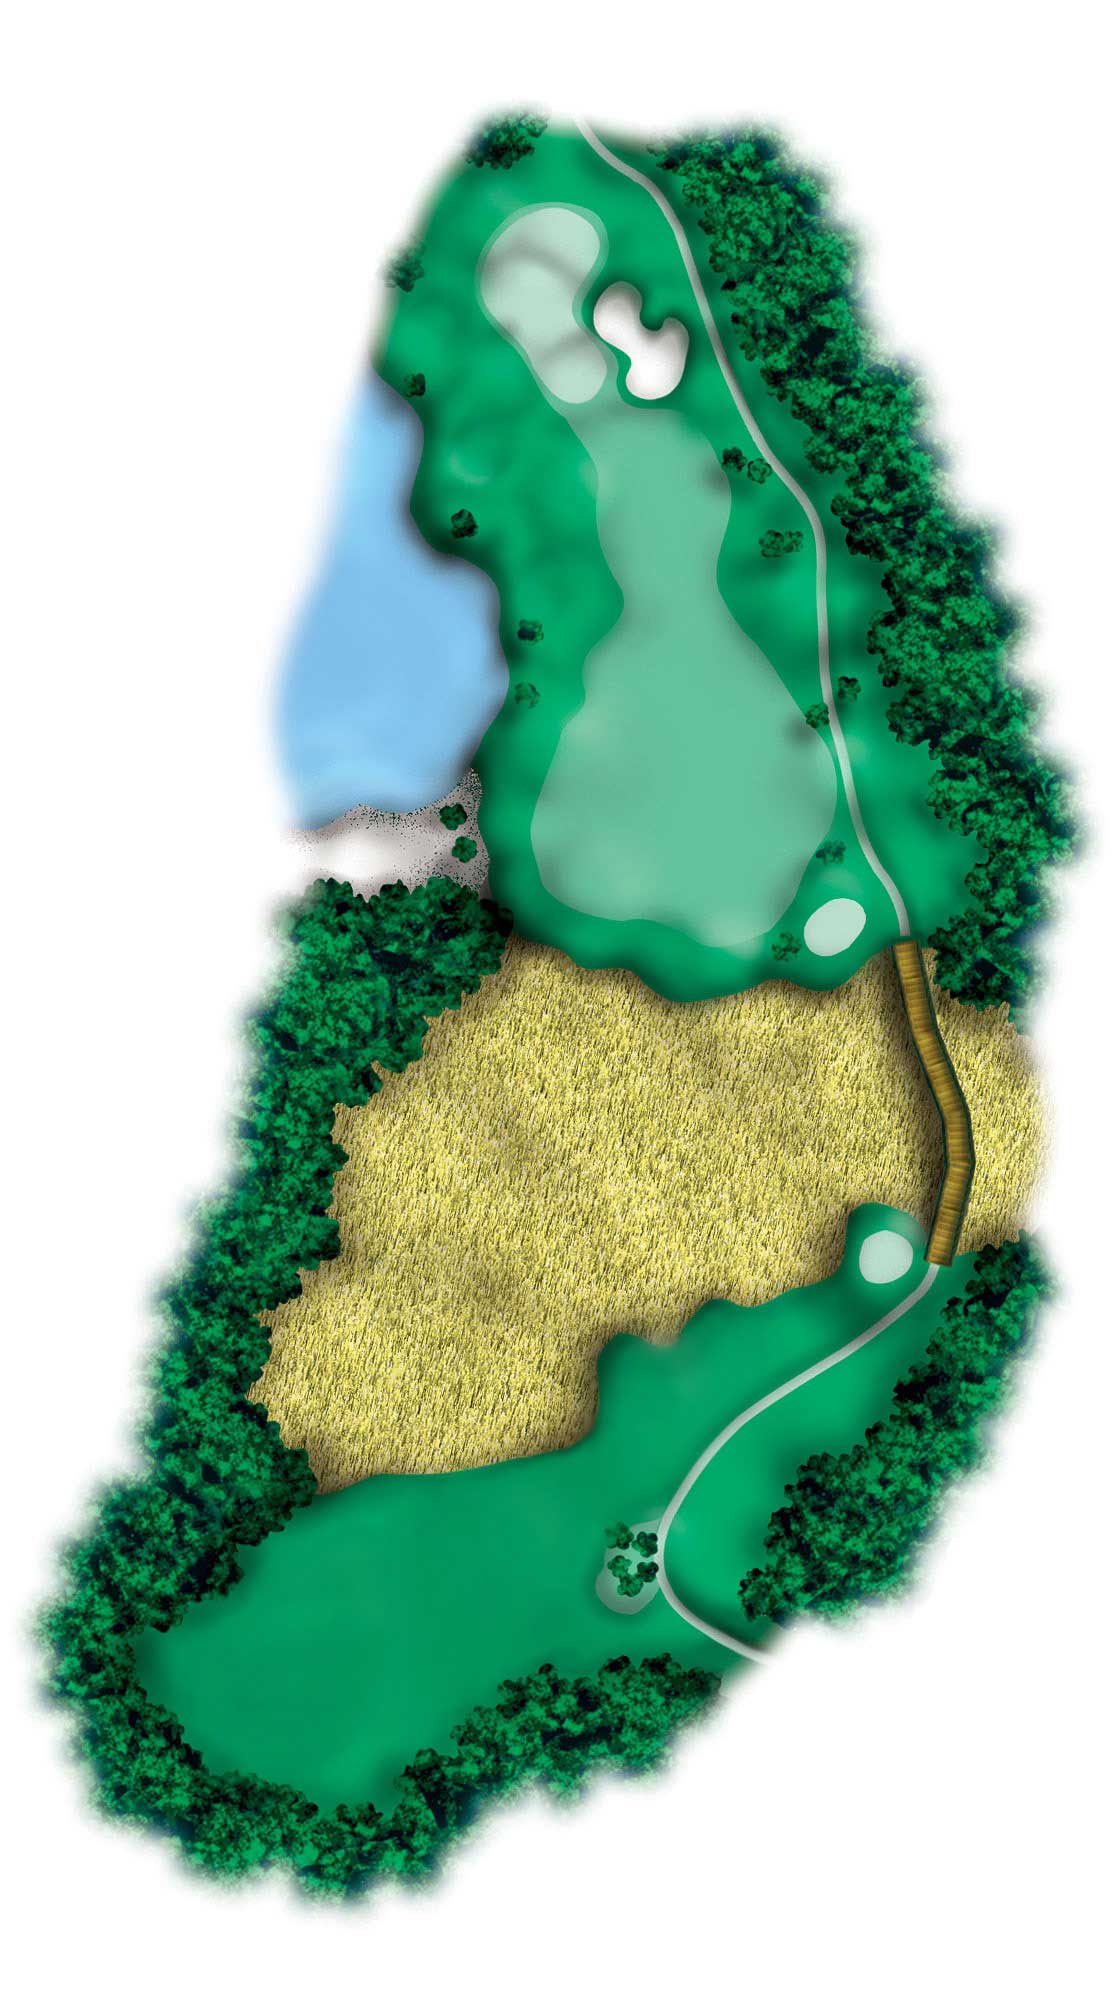
Another par four that demands good placement off the tee. Clear the wetlands and you will be left with a short iron to the green. Note the hole location, this green slopes in three directions.
HOLE 7
HOW TO PLAY HOLE 7
You should favor the left center of the fairway to avoid the waste area on the right. This will leave you a mid to short iron to the green.
HOLE 8
HOW TO PLAY HOLE 8
The sloping green offers several hole locations, making proper club selection key.
HOLE 9
HOW TO PLAY HOLE 9
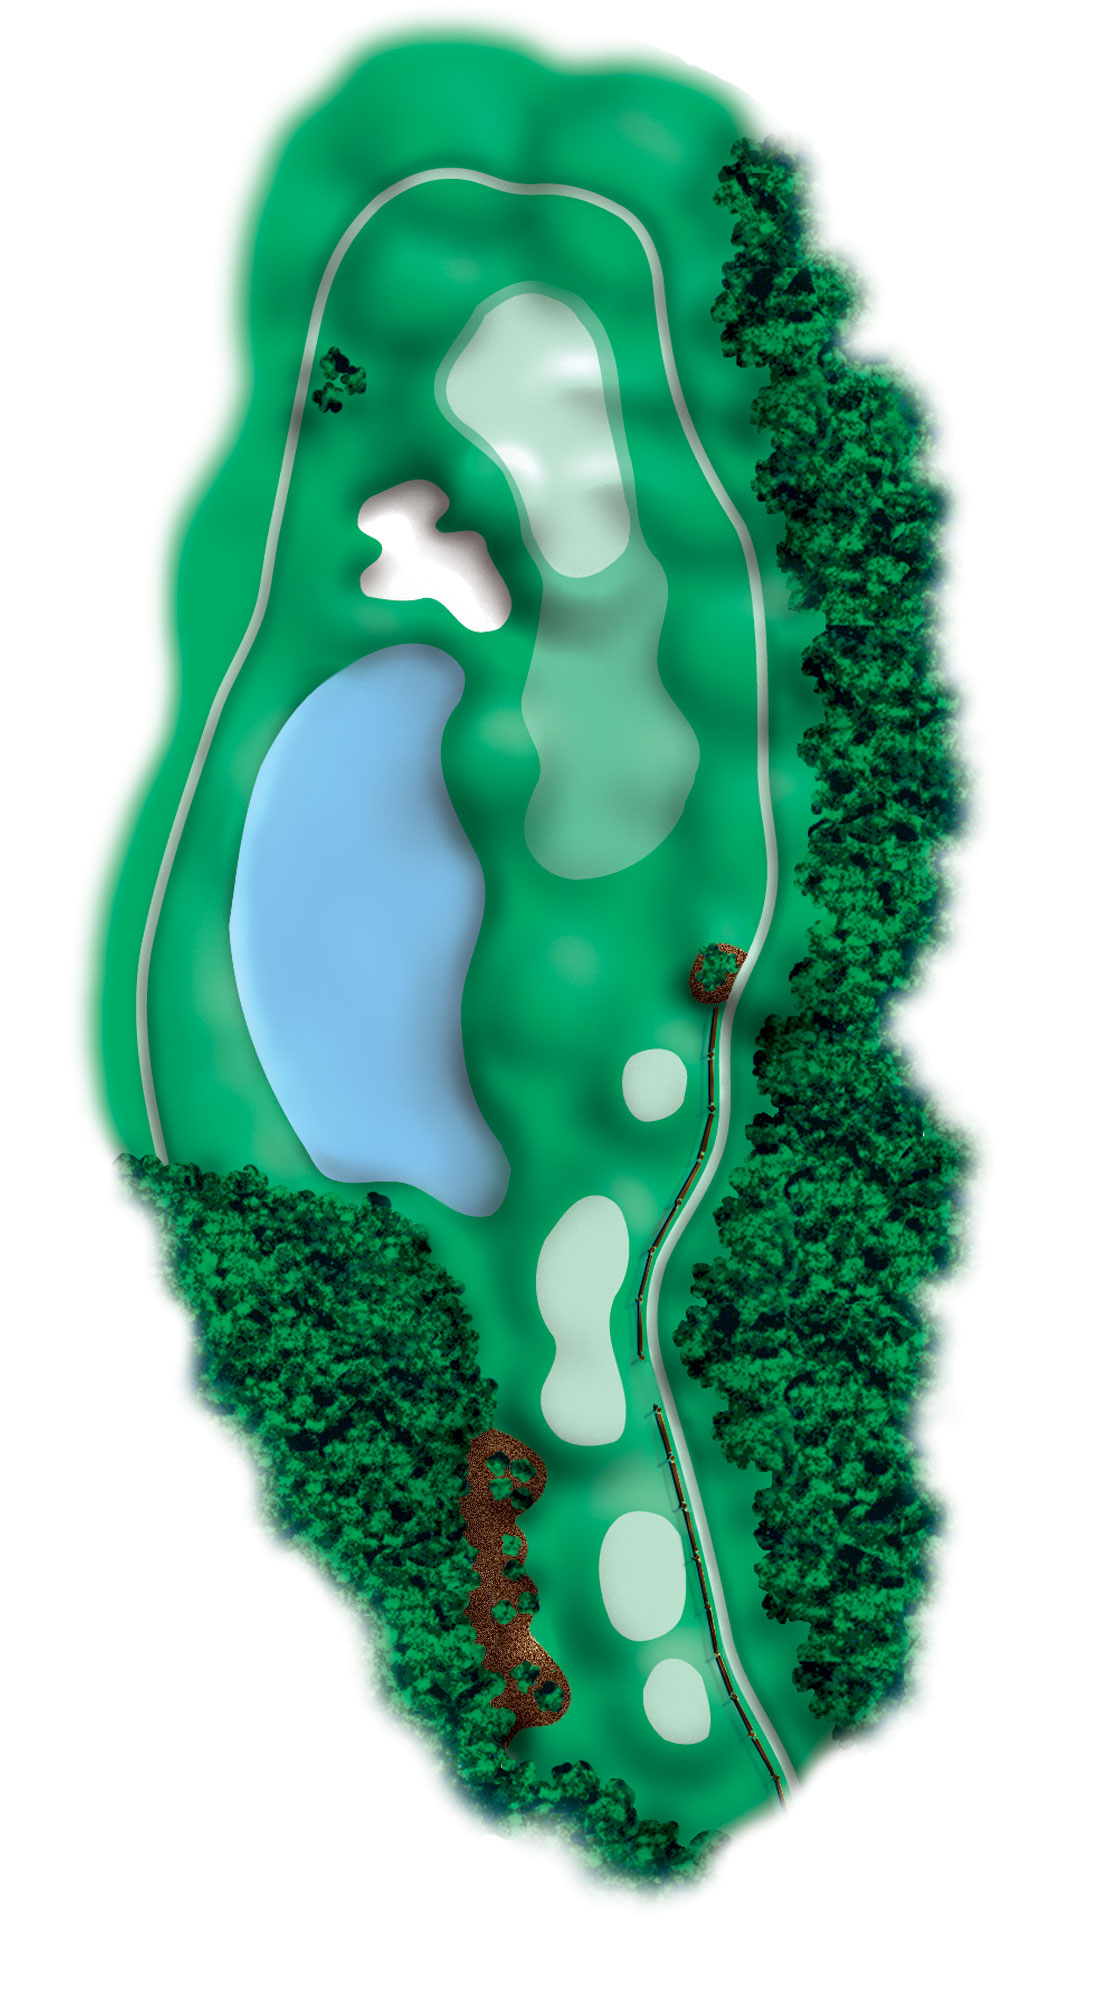
A simple but intimidating three shot par five. The object is to carry the two wetlands which will leave you with a short iron shot to the green. Favor the right side of the fairway with your second shot.

